KYC templates and requirements
If I edit a KYC Template, will my changes apply to all KYC processes?
Any changes in a KYC Template will ONLY apply to KYC processes initiated after the change. If an applicant started the process before the KYC Template was edited, they will see the previous version of the template. In this case you can request applicants to start a new process or simply request additional requirements manually.
Can customer support modify KYC template settings on my behalf?
Yes, our customer support team can assist you with modifying your KYC template settings. Simply send a request with your project name to [email protected], and our team will be happy to help.
How can a KYC template be restored or reverted to a previous configuration?
If a KYC template has been deleted or you wish to revert it to a previous configuration, please open a support ticket. Our team will review the request and assist you with restoring the template or applying the previous settings as needed if possible.
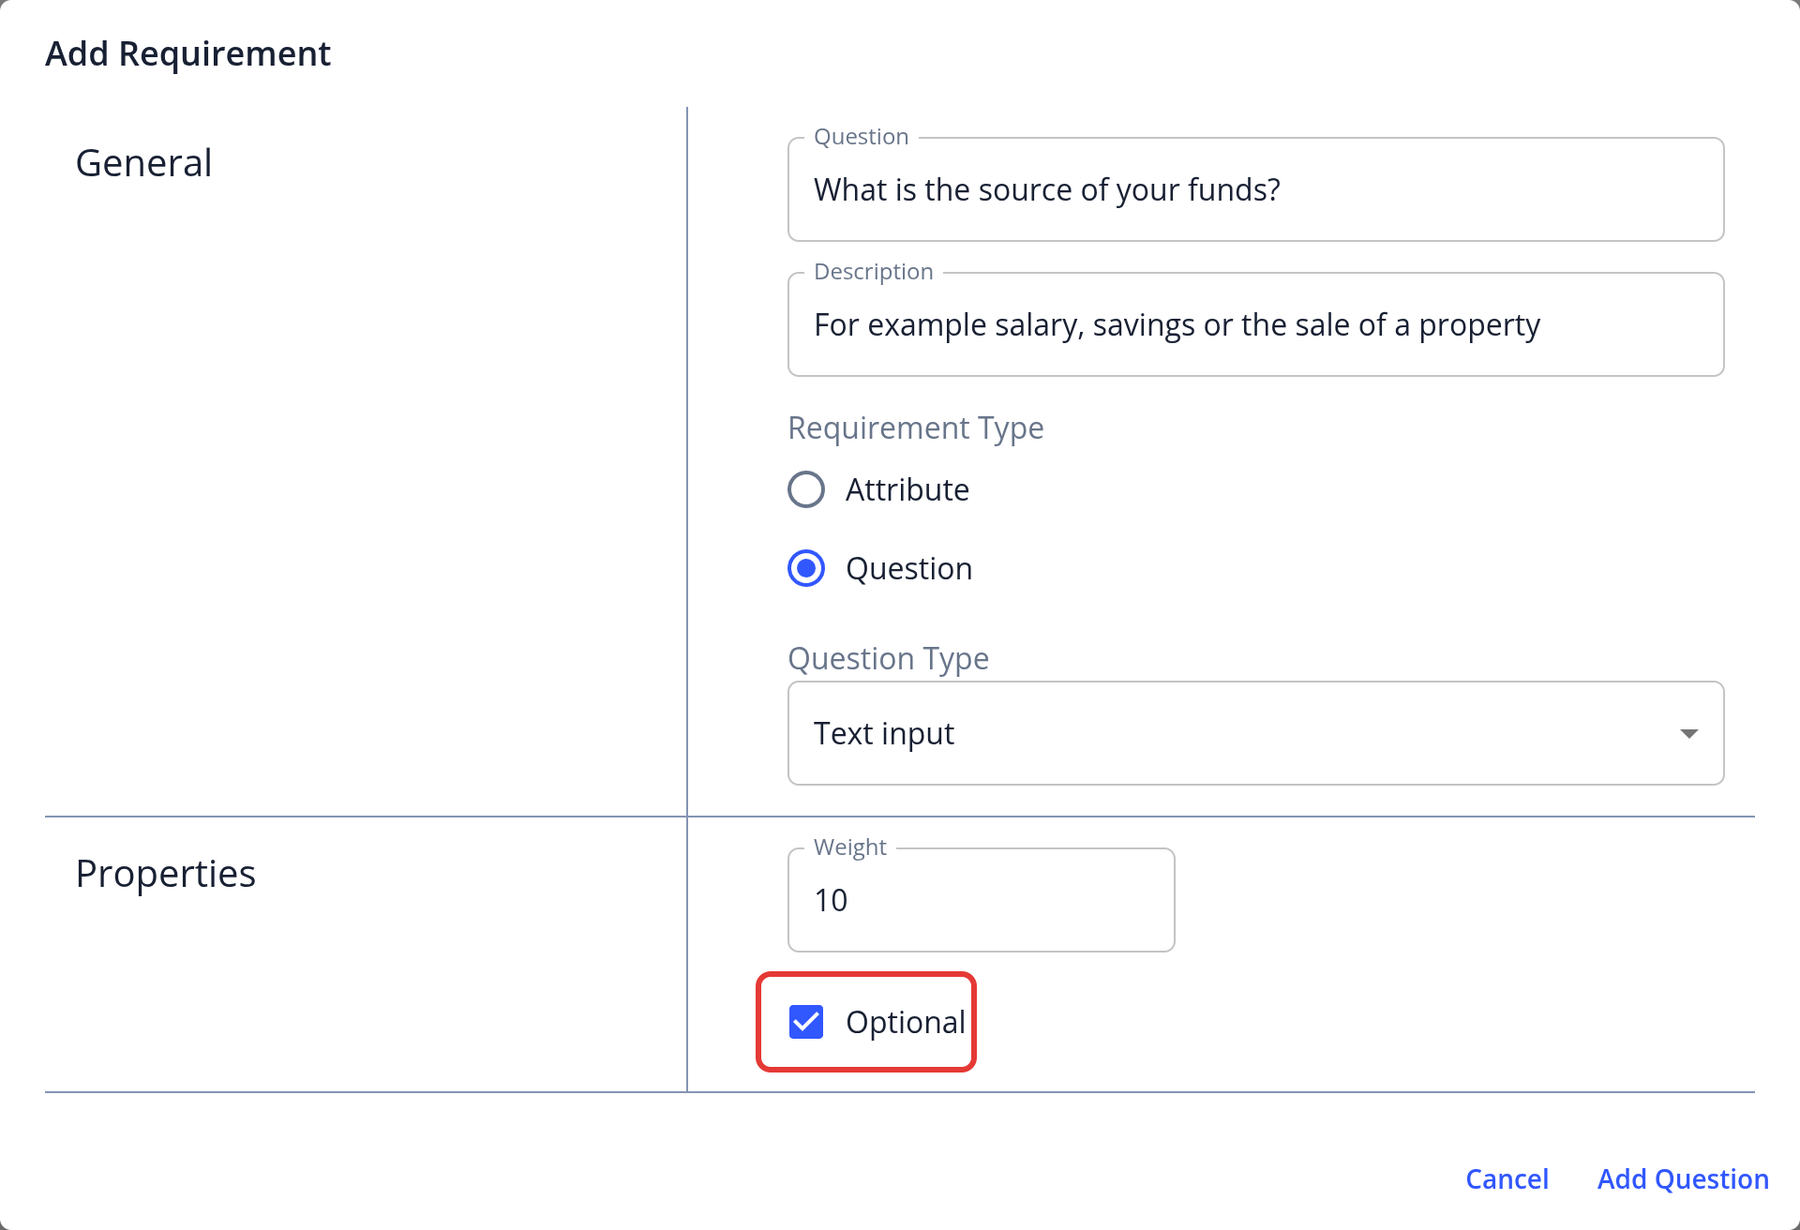
How do I configure a question as optional in a template?
- Go to KYC Templates.
- Click View And Modify on the template you want to edit and go to the Requirements step.
- When adding or editing a question, tick Optional.
- Click Add Question (or Update Question).
How can I customize the display order of questions within an application?
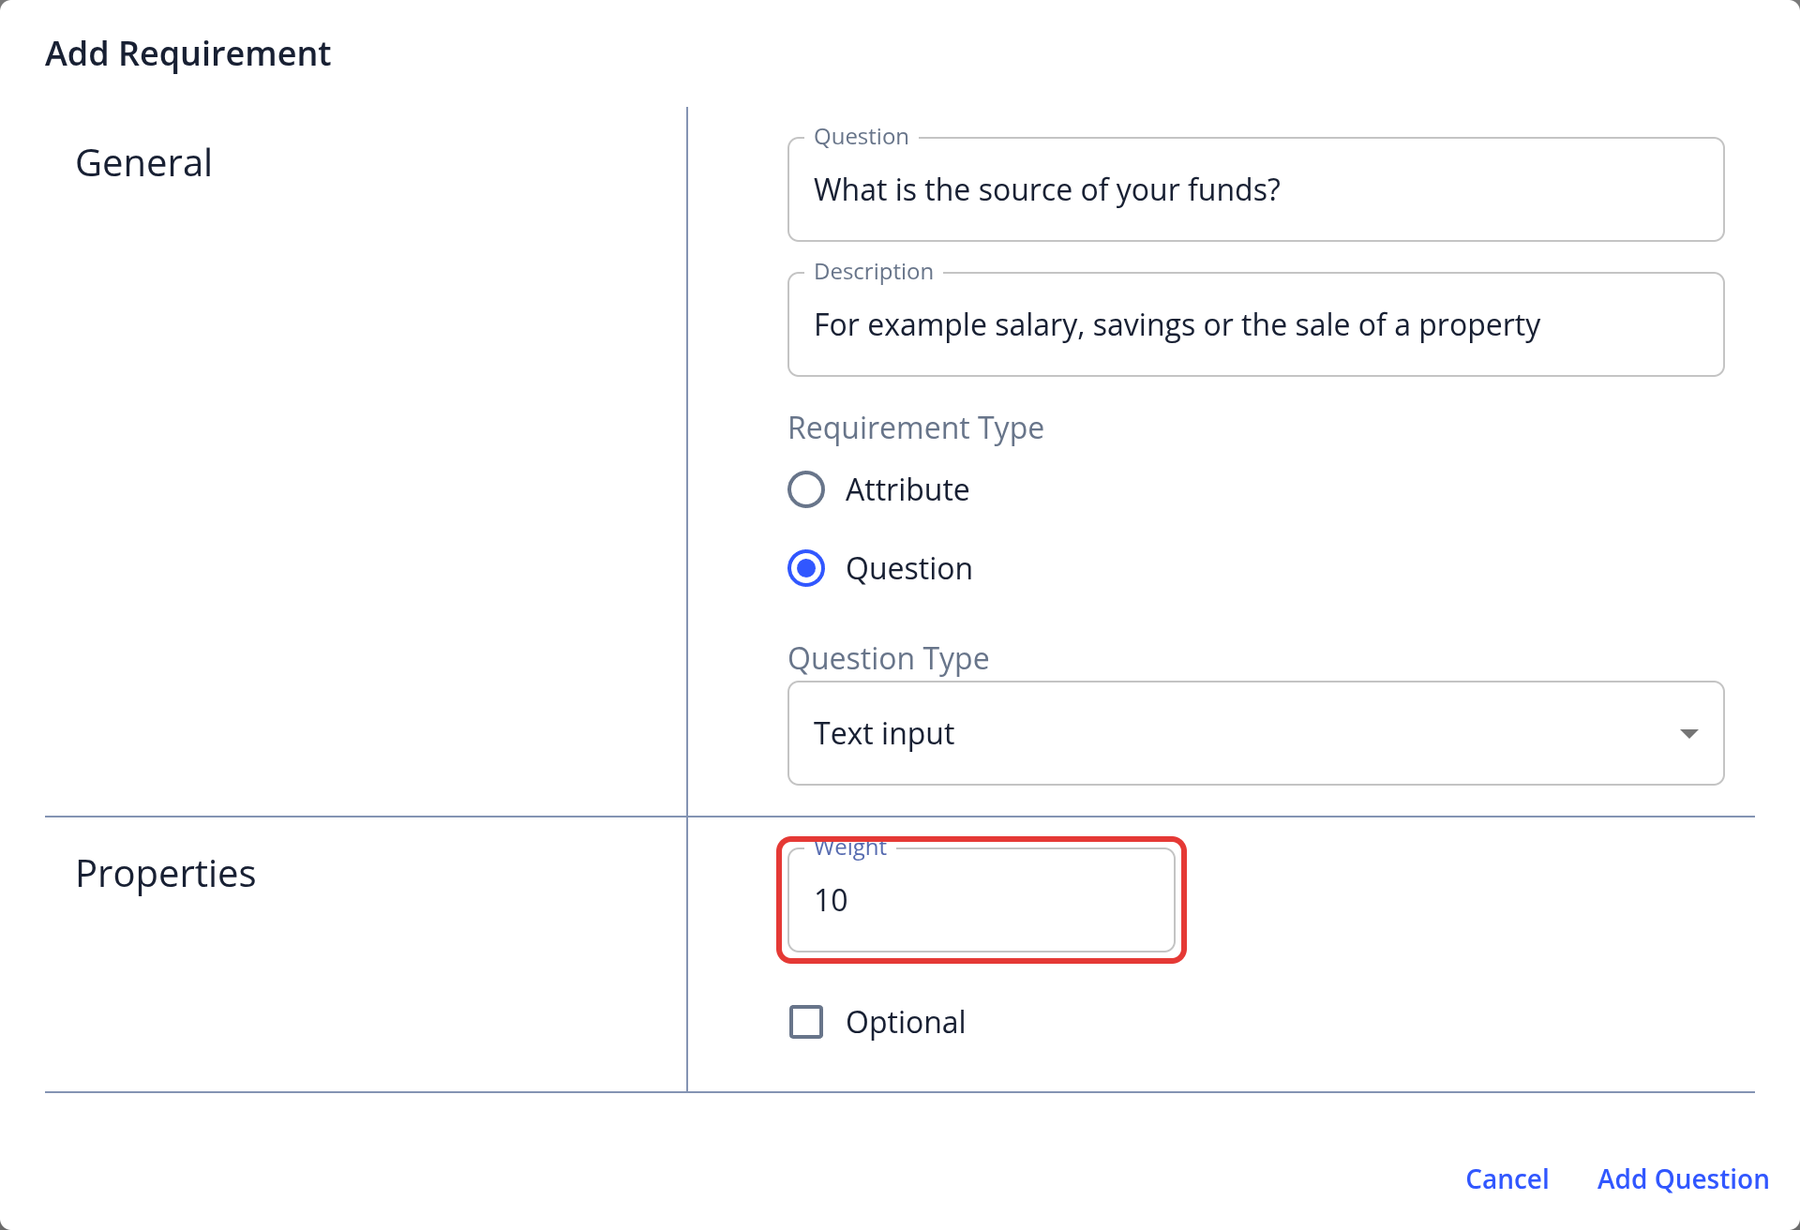
You can customize the order of questions using the Weight setting.
- Go to KYC Templates and open the template
- Go to the Requirements step and edit a question
- Set the Weight. Questions are shown from the lowest to the highest weight, so a question with weight 0 (the default) appears before a question with weight 1. Please refer to the following screenshot for more information:
How can users configure address fields to require all components (e.g., street, city, postcode) rather than just the first line?
There's no setting for this. The Address attribute and the Address question type have five parts (Physical Address 1, Physical Address 2, City, Province and Postal Code), and only Physical Address 1 is required. The other parts are optional for the applicant.
If you need the other parts, add them as separate questions, for example City and Postal code with the Text input question type. A question is required unless you tick Optional (see How do I configure a question as optional in a template?).
How can I ensure that attachments or linked documents are properly displayed and accessible on the welcome page?
To ensure that links and documents are displayed correctly, run a quick test by inviting yourself to complete the KYC process. If anything appears incorrectly, you can edit the document template or open a support ticket for further assistance.
Is there an option to reject terms and conditions during the application process?
No, it is not possible to allow applicants to reject the terms and conditions.
Is it possible to customize the signature block to include specific applicant details like first name, last name, and National ID number?
No, the signature block only allows users to enter their signature, initials, or upload an image of their signature. However, you can add additional fields to collect information such as first name, last name, and National ID.
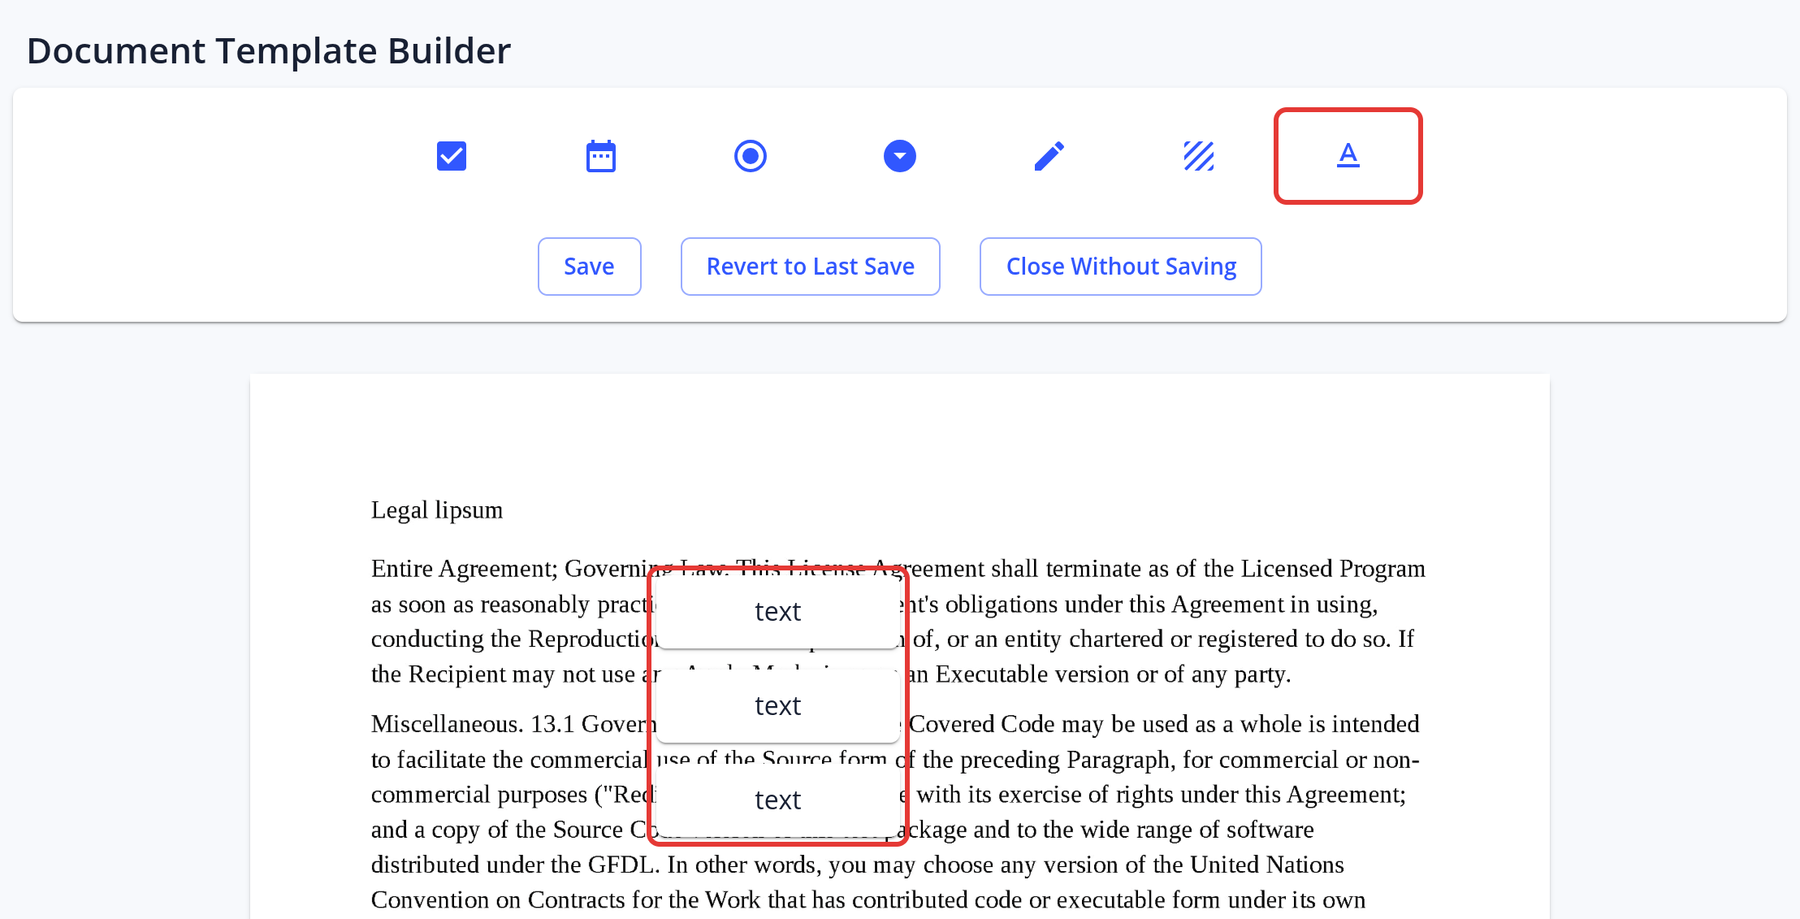
How do I resolve issues with the 'replace file' functionality in Document Templates?
If you encounter any issues with the 'replace file' functionality in Document Templates, please contact the help desk and provide detailed information about the problem.
How to Set Up Language Support for the Customer Portal
The customer portal supports English, Chinese (Simplified), Chinese (Traditional), Russian, Czech, Spanish, Turkish, Italian and Hungarian. Our team enables the languages for your instance; contact support to add a language.
-
Navigate to KYC Templates: On the left menu, select KYC Templates and open a saved template.
-
Access Translations: Click the Translations button at the top of the template page. The button is only shown when more than one language is enabled for your instance.

-
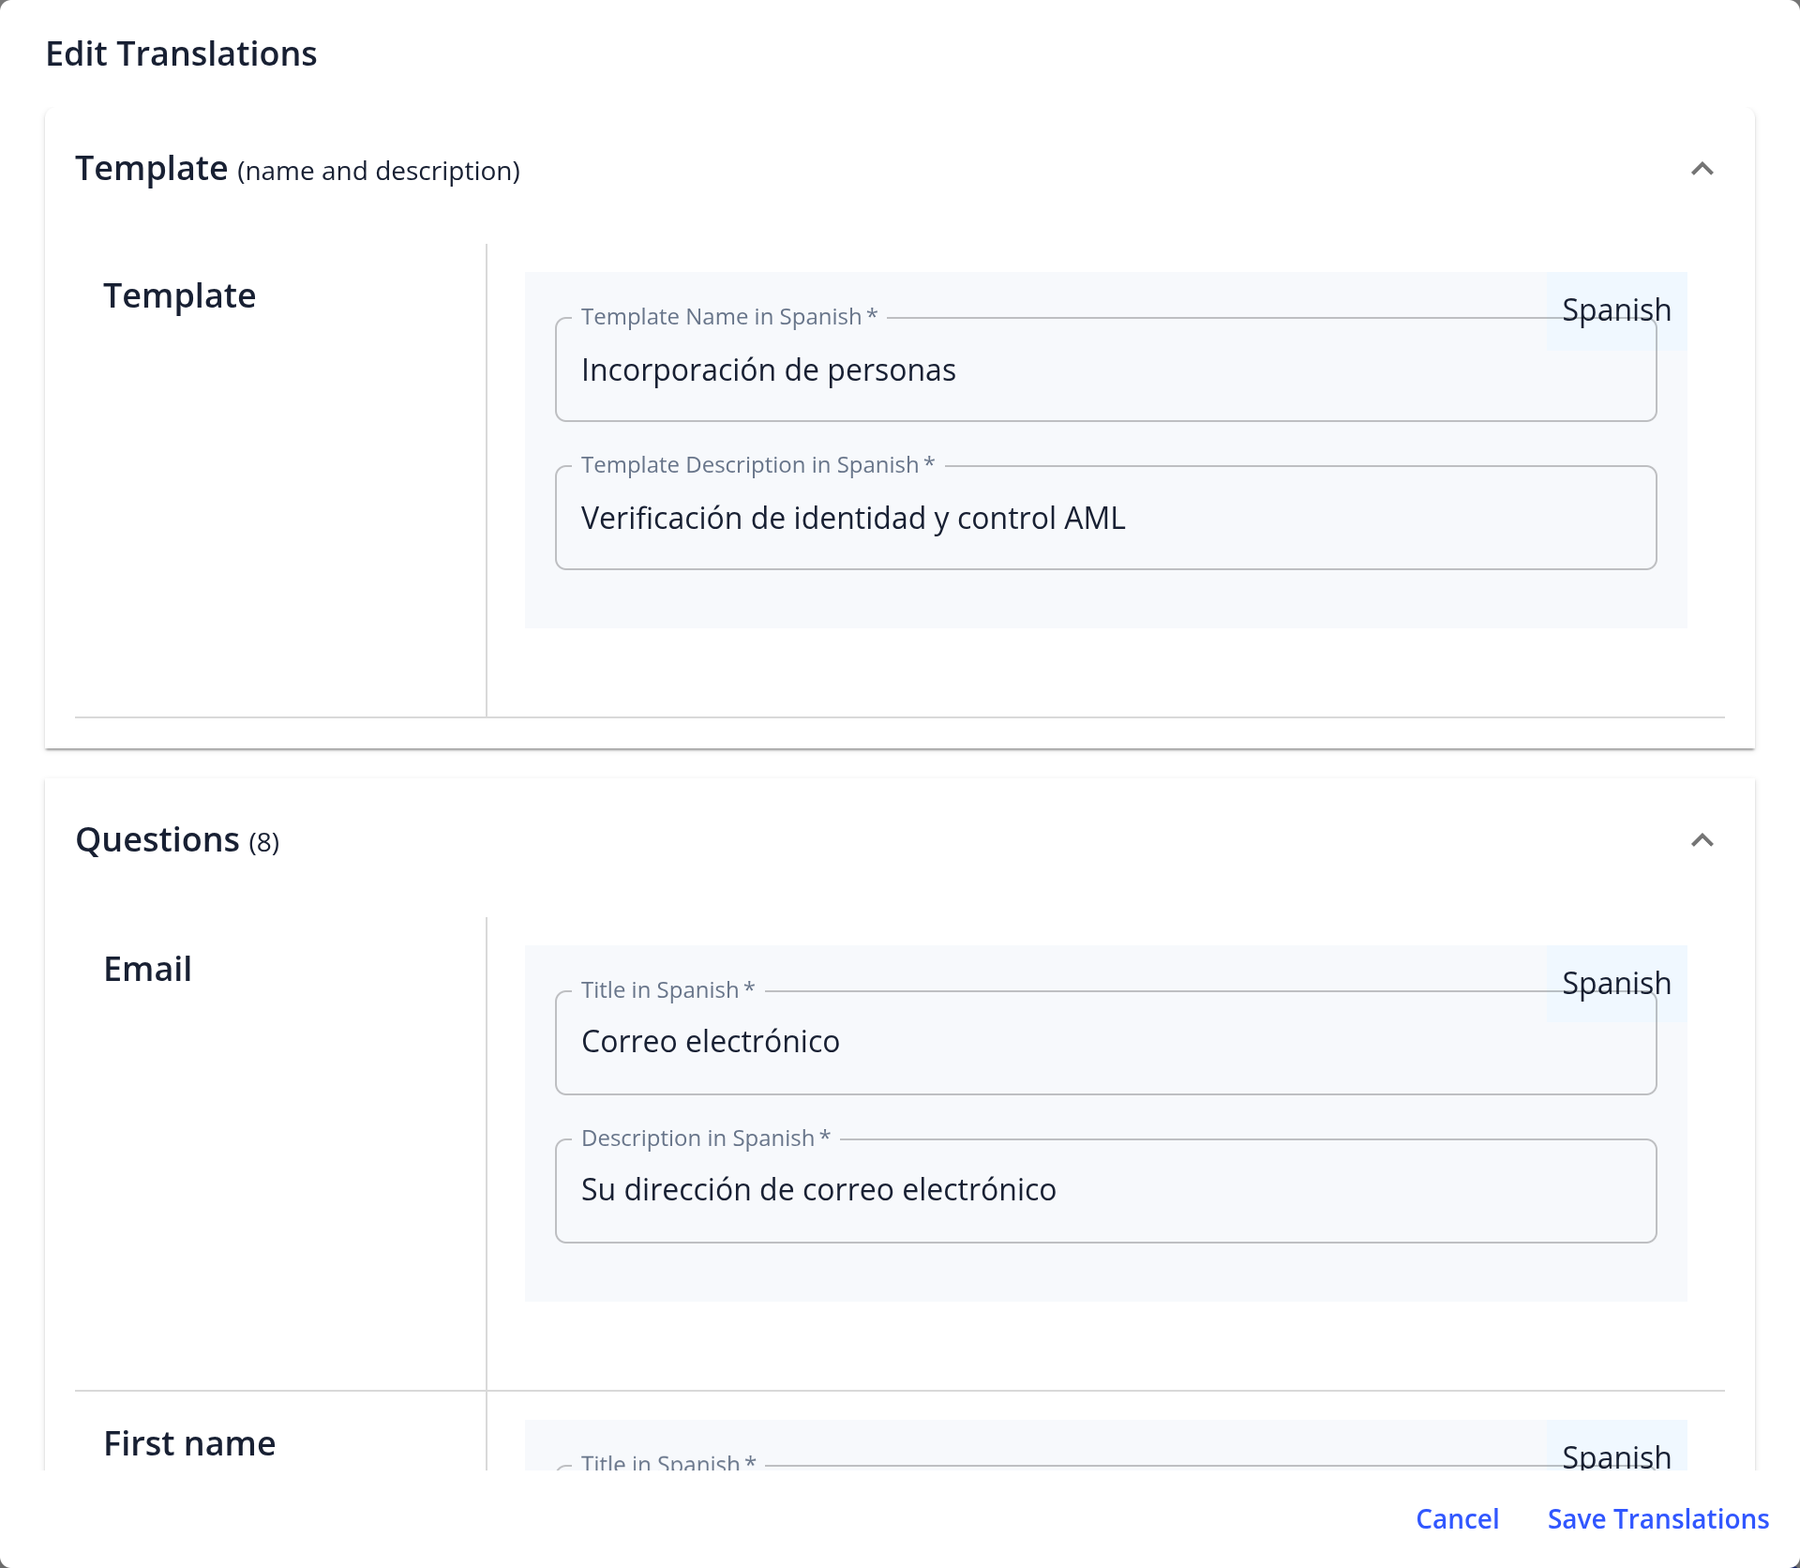
Add Translations: In the pop-up window, enter the translations for each field and language. The template name and description, questions, forms, documents, screens and sections each have their own section.
-
Save Changes: Click Save Translations. The button is enabled once every name and description has been translated.
After saving, applicants can choose their language with the language switcher in the customer portal.
Note: The language switcher is available only in the customer portal, not in the management app interface.