Requests, messages and Easy Fill
Helping applicants during the KYC process
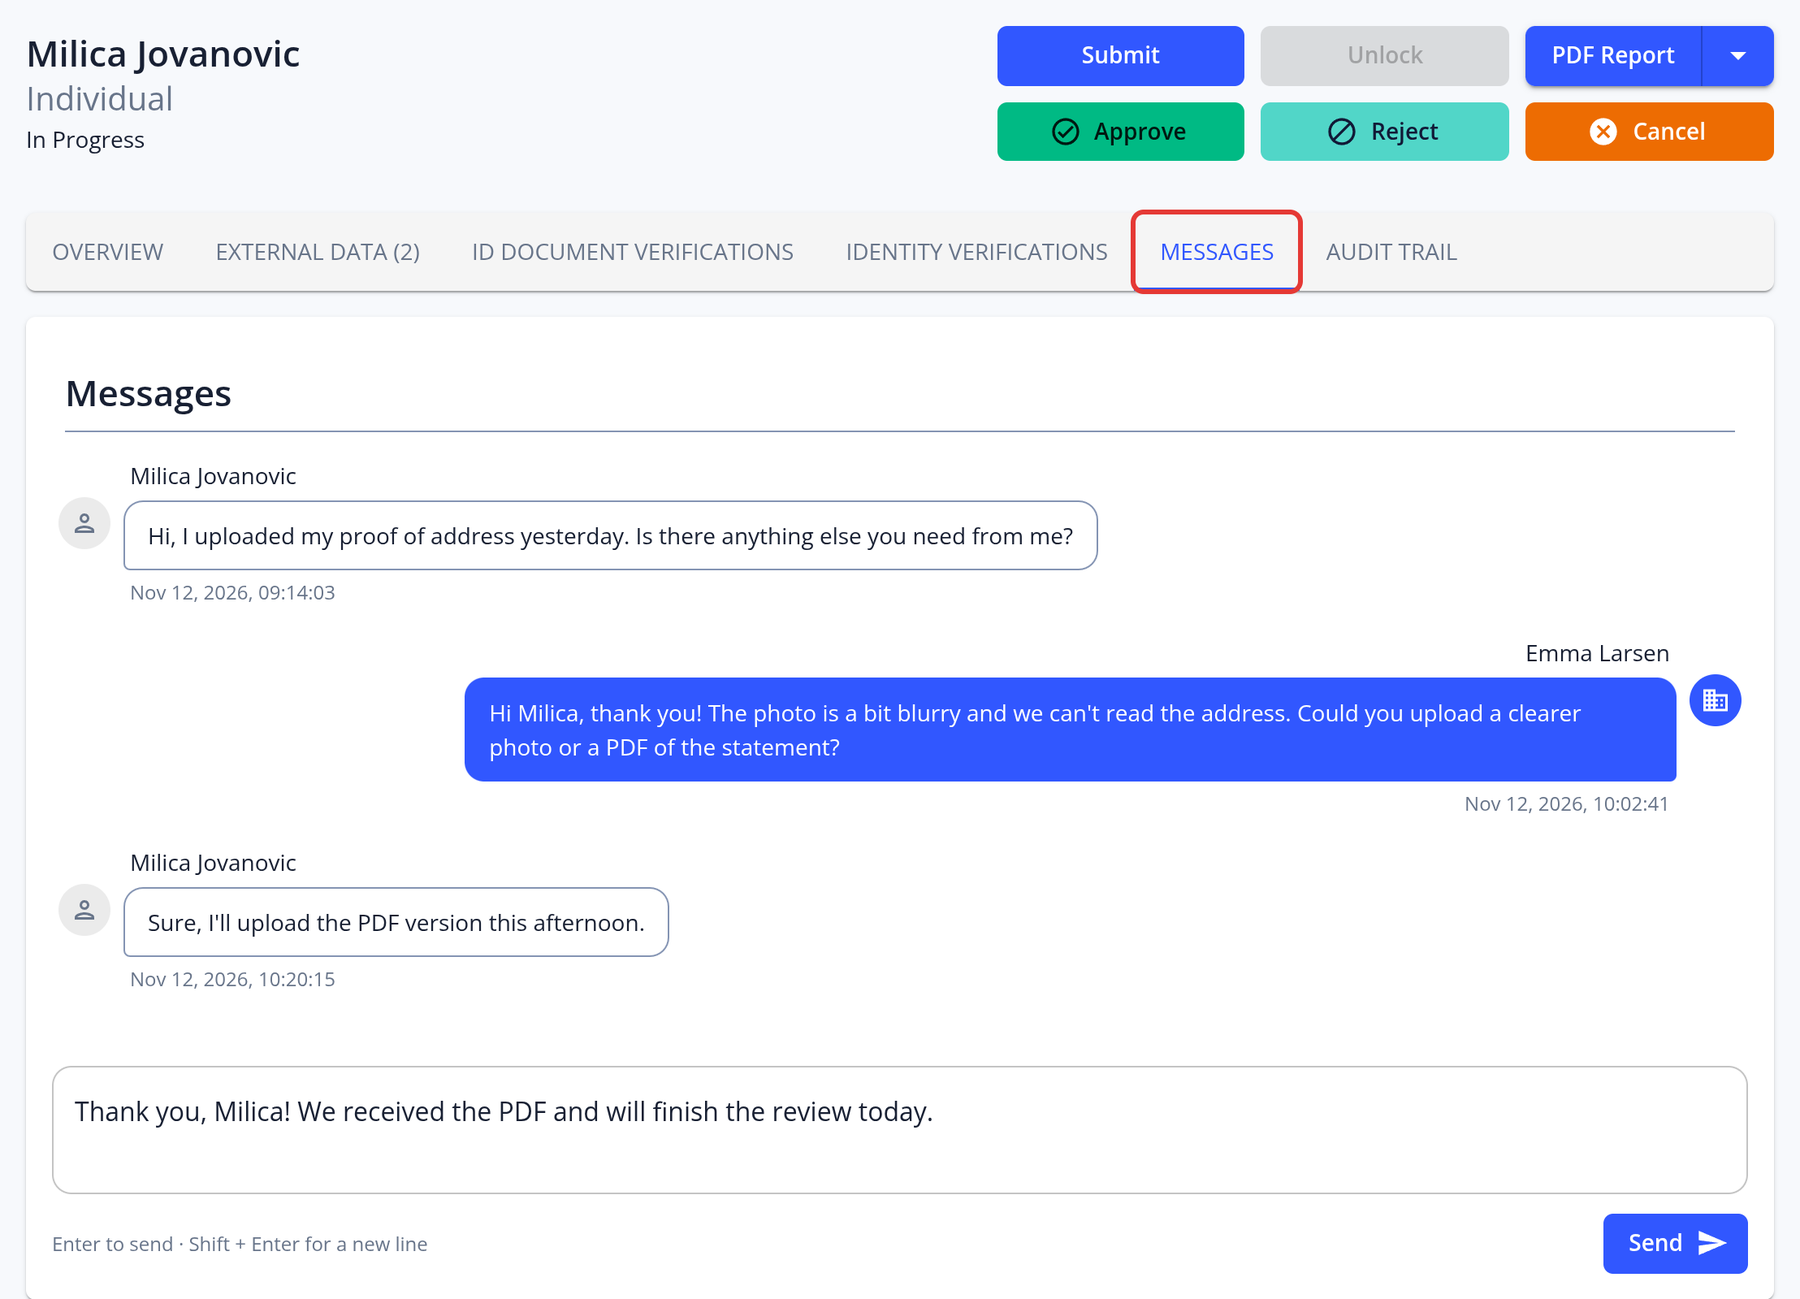
Managers can chat with applicants in the Messages tab of the application. Messages are saved, so the applicant doesn't need to be online at the same time as you. The Messages tab is available when:
- the messages feature is enabled for your instance,
- your role has permission to send messages,
- you are assigned to the application, and
- the application has an applicant account. Applications that a manager created without inviting an applicant don't have one.
Requesting additional documents or questions
Managers can ask the applicant for more documents, questions or forms at any point while the application is open. The applicant receives an email asking for them.
- Open the application. You must be assigned to it.
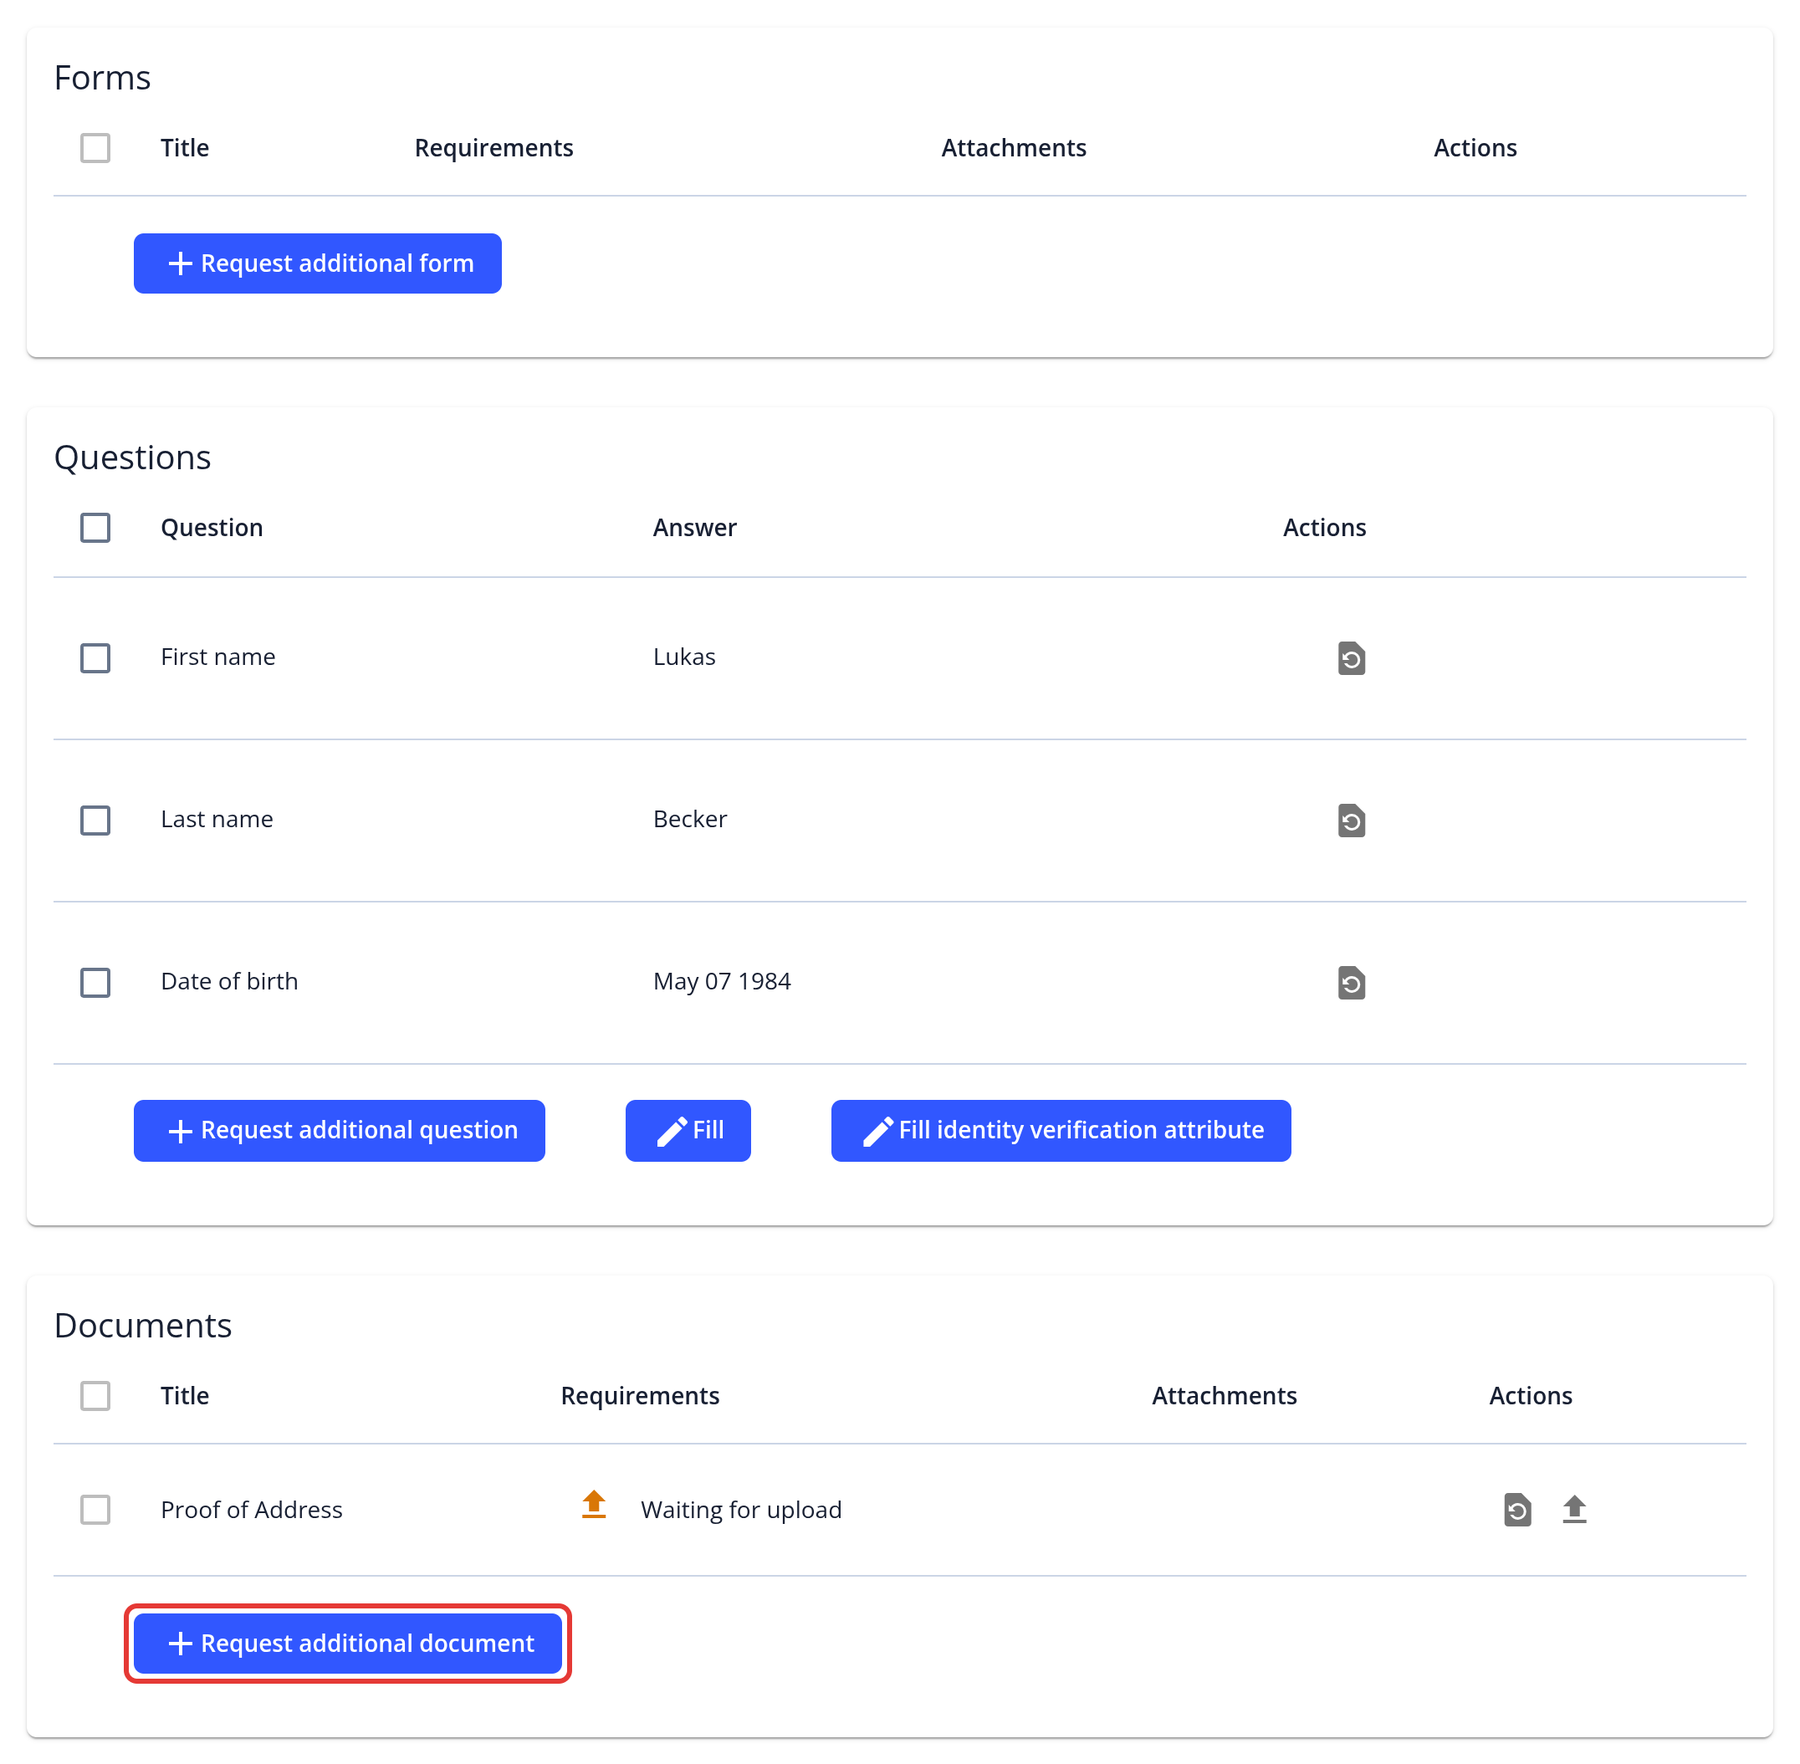
- Scroll to the Documents, Questions or Forms section and click Request additional document, Request additional question or Request additional form.
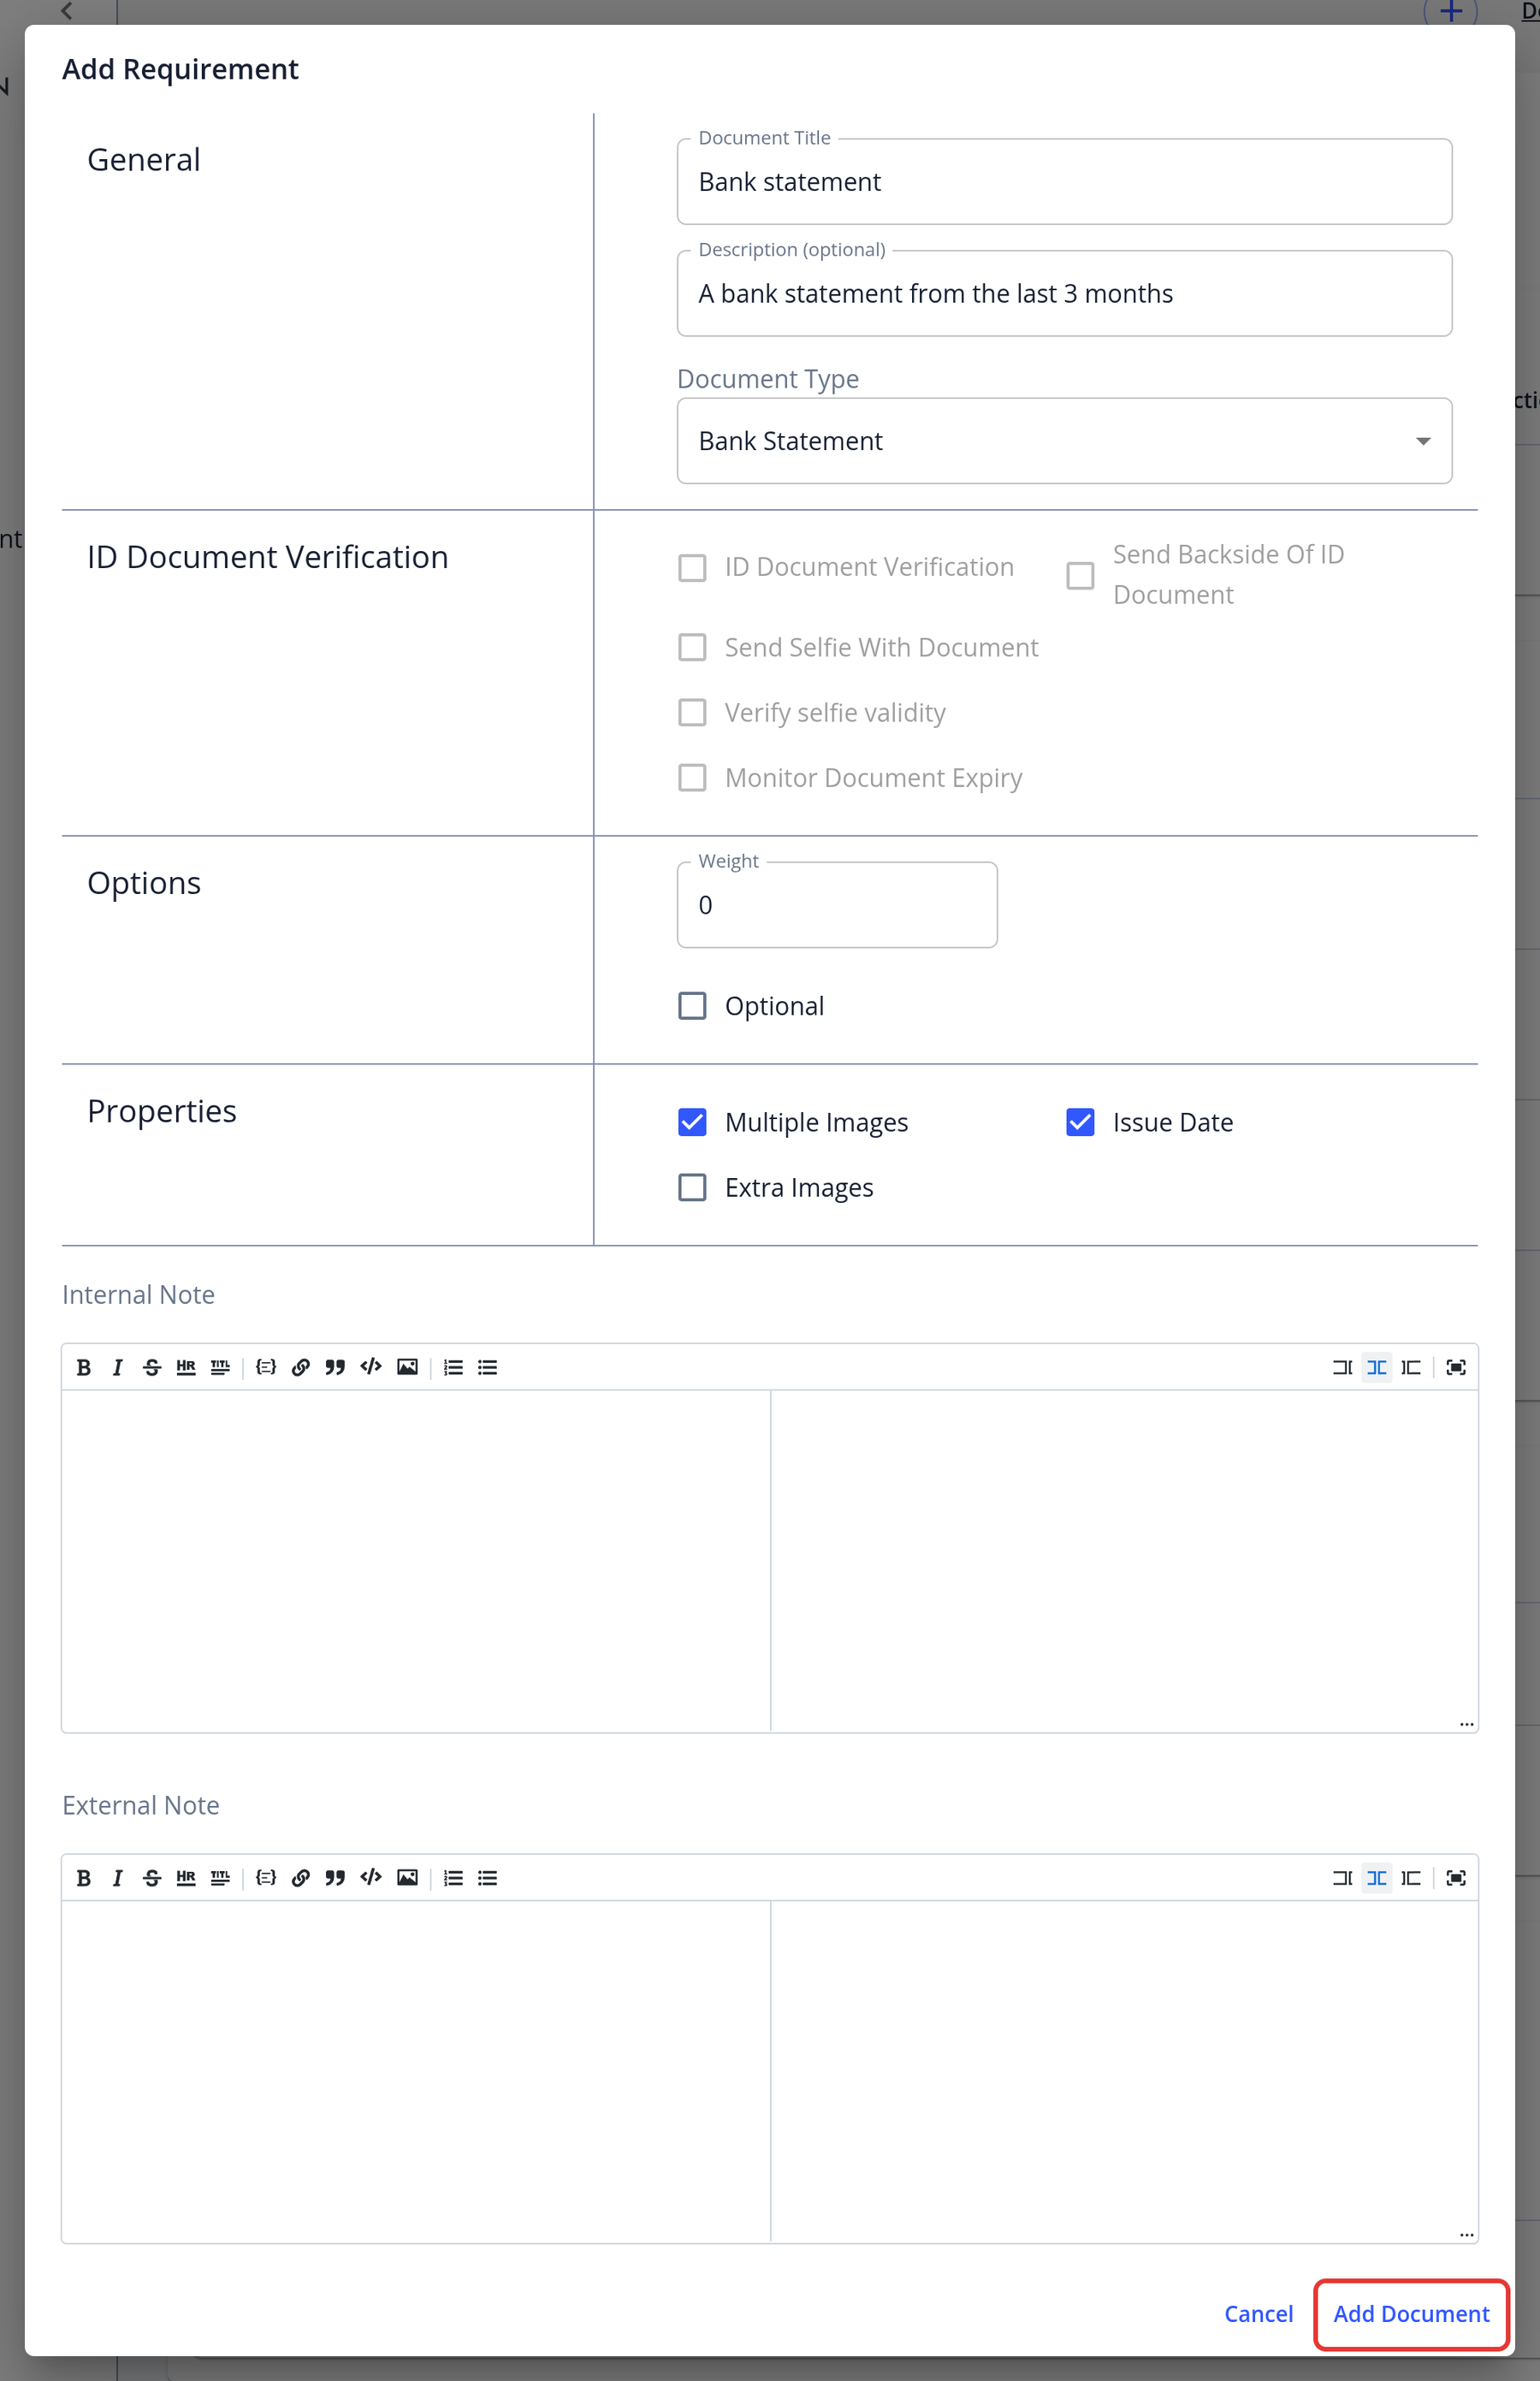
- In the Add Requirement dialog, enter the details and click Add Document or Add Question. You can add an External Note, which is included in the email to the applicant.
- The applicant receives an email asking them to provide the additional items, and the status changes to "Additional Items Requested".
Requesting a re-upload or new answers
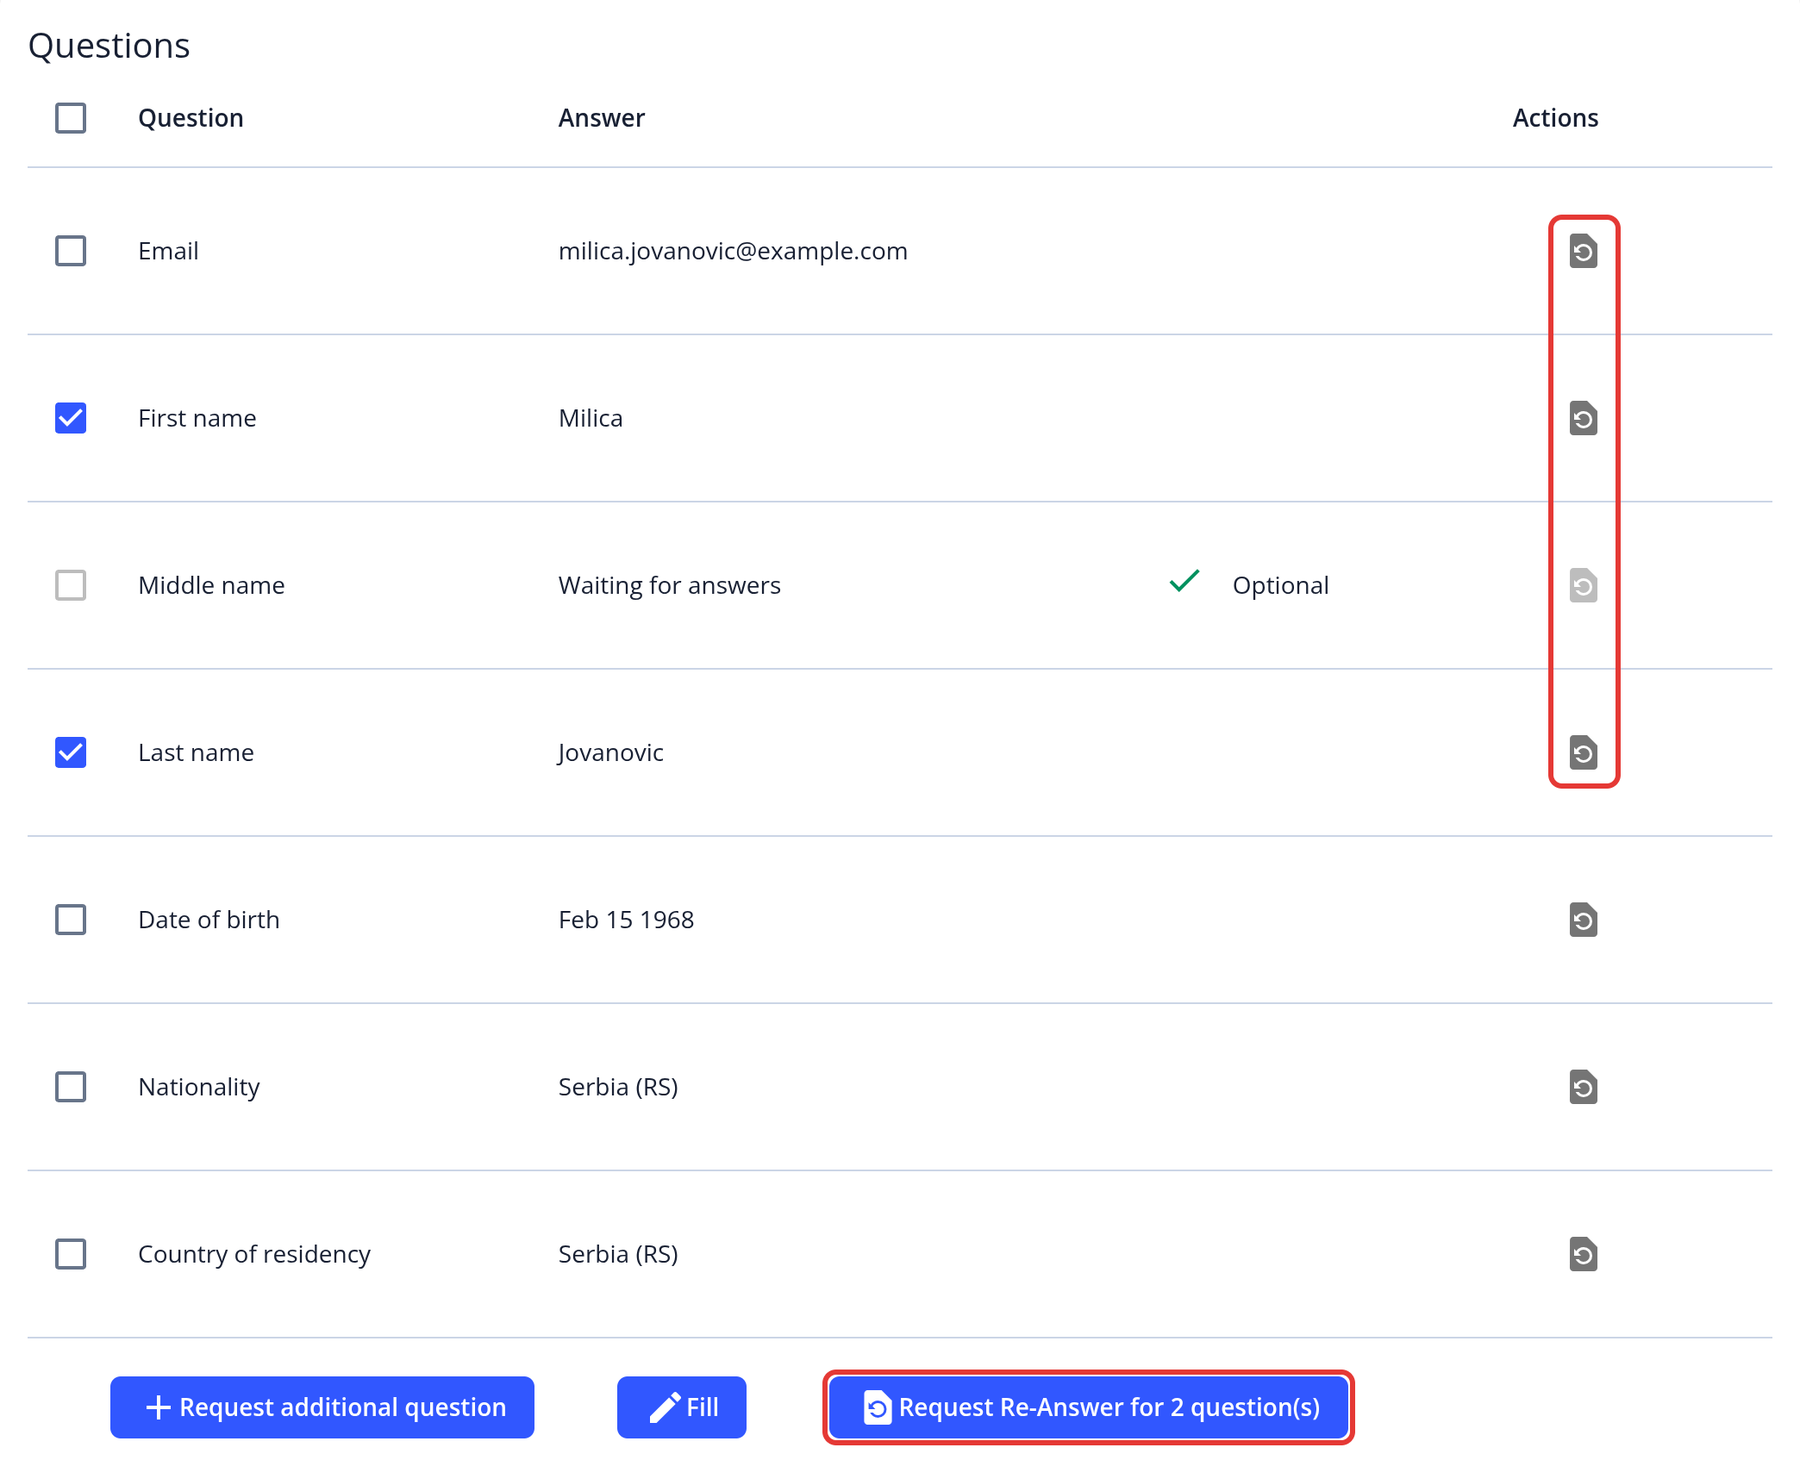
Managers can ask the applicant to re-upload a document, re-answer a question or re-fill a form at any point while the application is open. The applicant receives an email.
- Open the application. You must be assigned to it.
- Scroll to the Documents, Questions or Forms section.
- Click Request Upload Again (refresh icon) on the row. To make several requests at once, tick the rows and click Request Re-upload for N document(s), Request Re-Answer for N question(s) or Request Re-Fill for N form(s).
- The applicant receives an email asking them to update the items you selected.
Easy Fill
Easy Fill lets managers enter an applicant's data and upload their documents on the applicant's behalf, so an application can be completed without the applicant using the customer portal. It is useful when applicants send their information and documents by email or another channel. Once the manager submits the application, all required checks run as usual. Easy Fill is available when it is enabled for your instance.
How to use Easy Fill
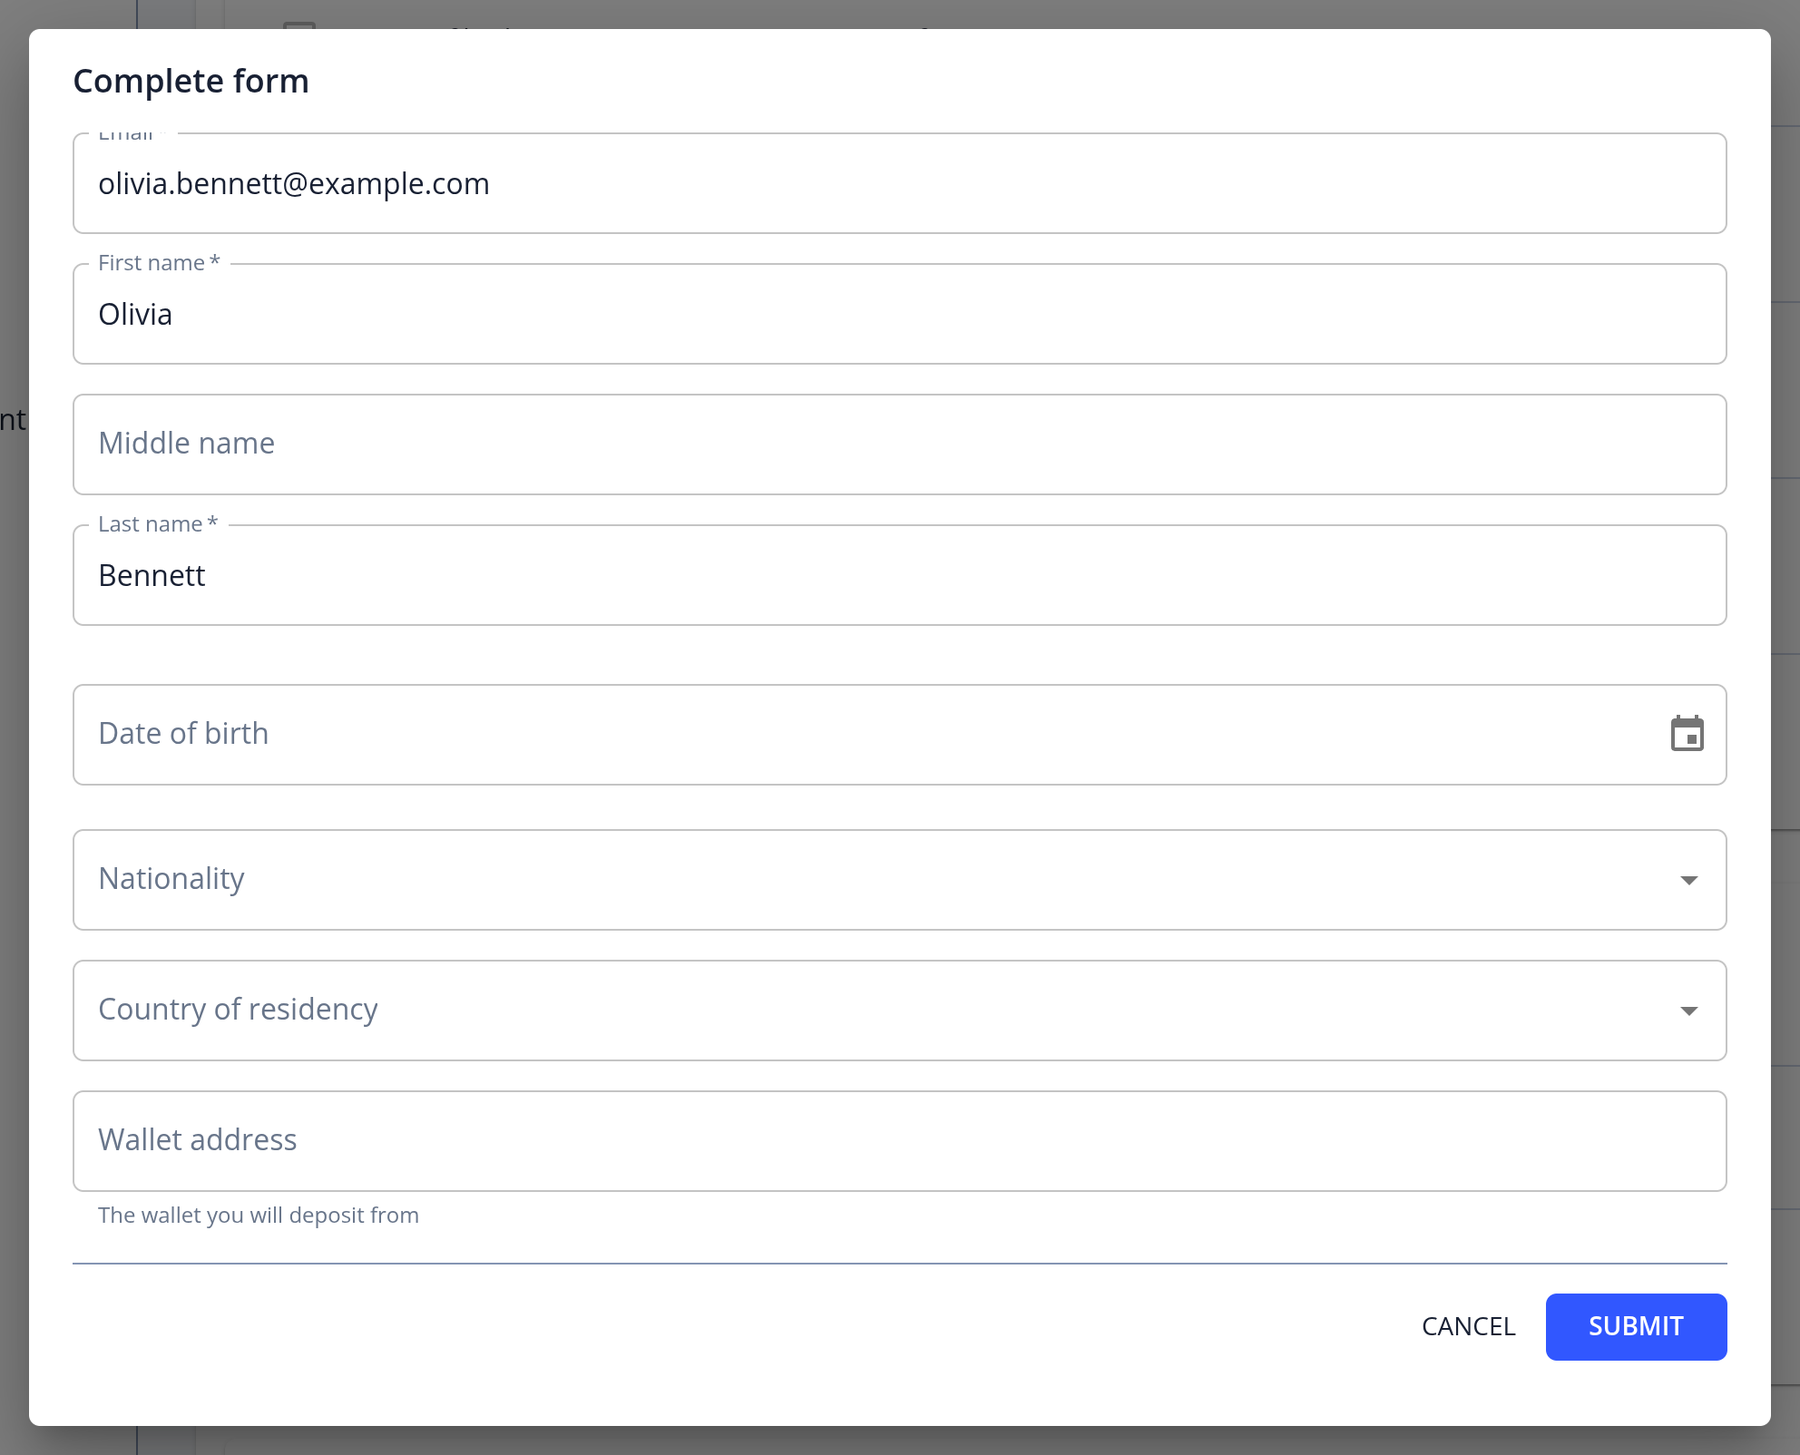
Click Fill in the application's Questions section. An editing window opens where you can enter or change any details, such as the name, date of birth or other personal information.
You can also upload required documents with the Upload document icon in the Actions column of the Documents section.
After you finish adjusting all the information and uploading any necessary files, click Submit at the top of the application page. This step is important, as it allows the system to rerun all verification checks using the updated details.