ID verification results
Checking ID data verification results
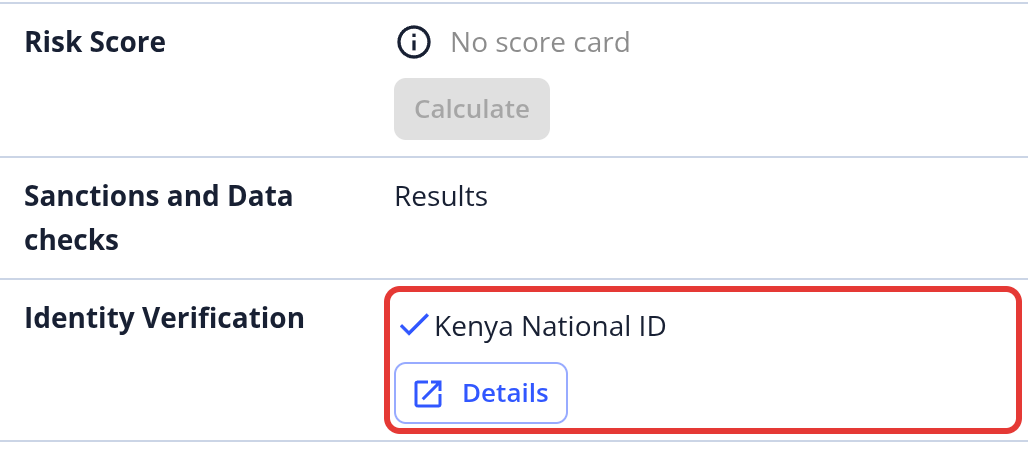
The Overview of an application shows the result of the ID data verification. Click Details to see more:
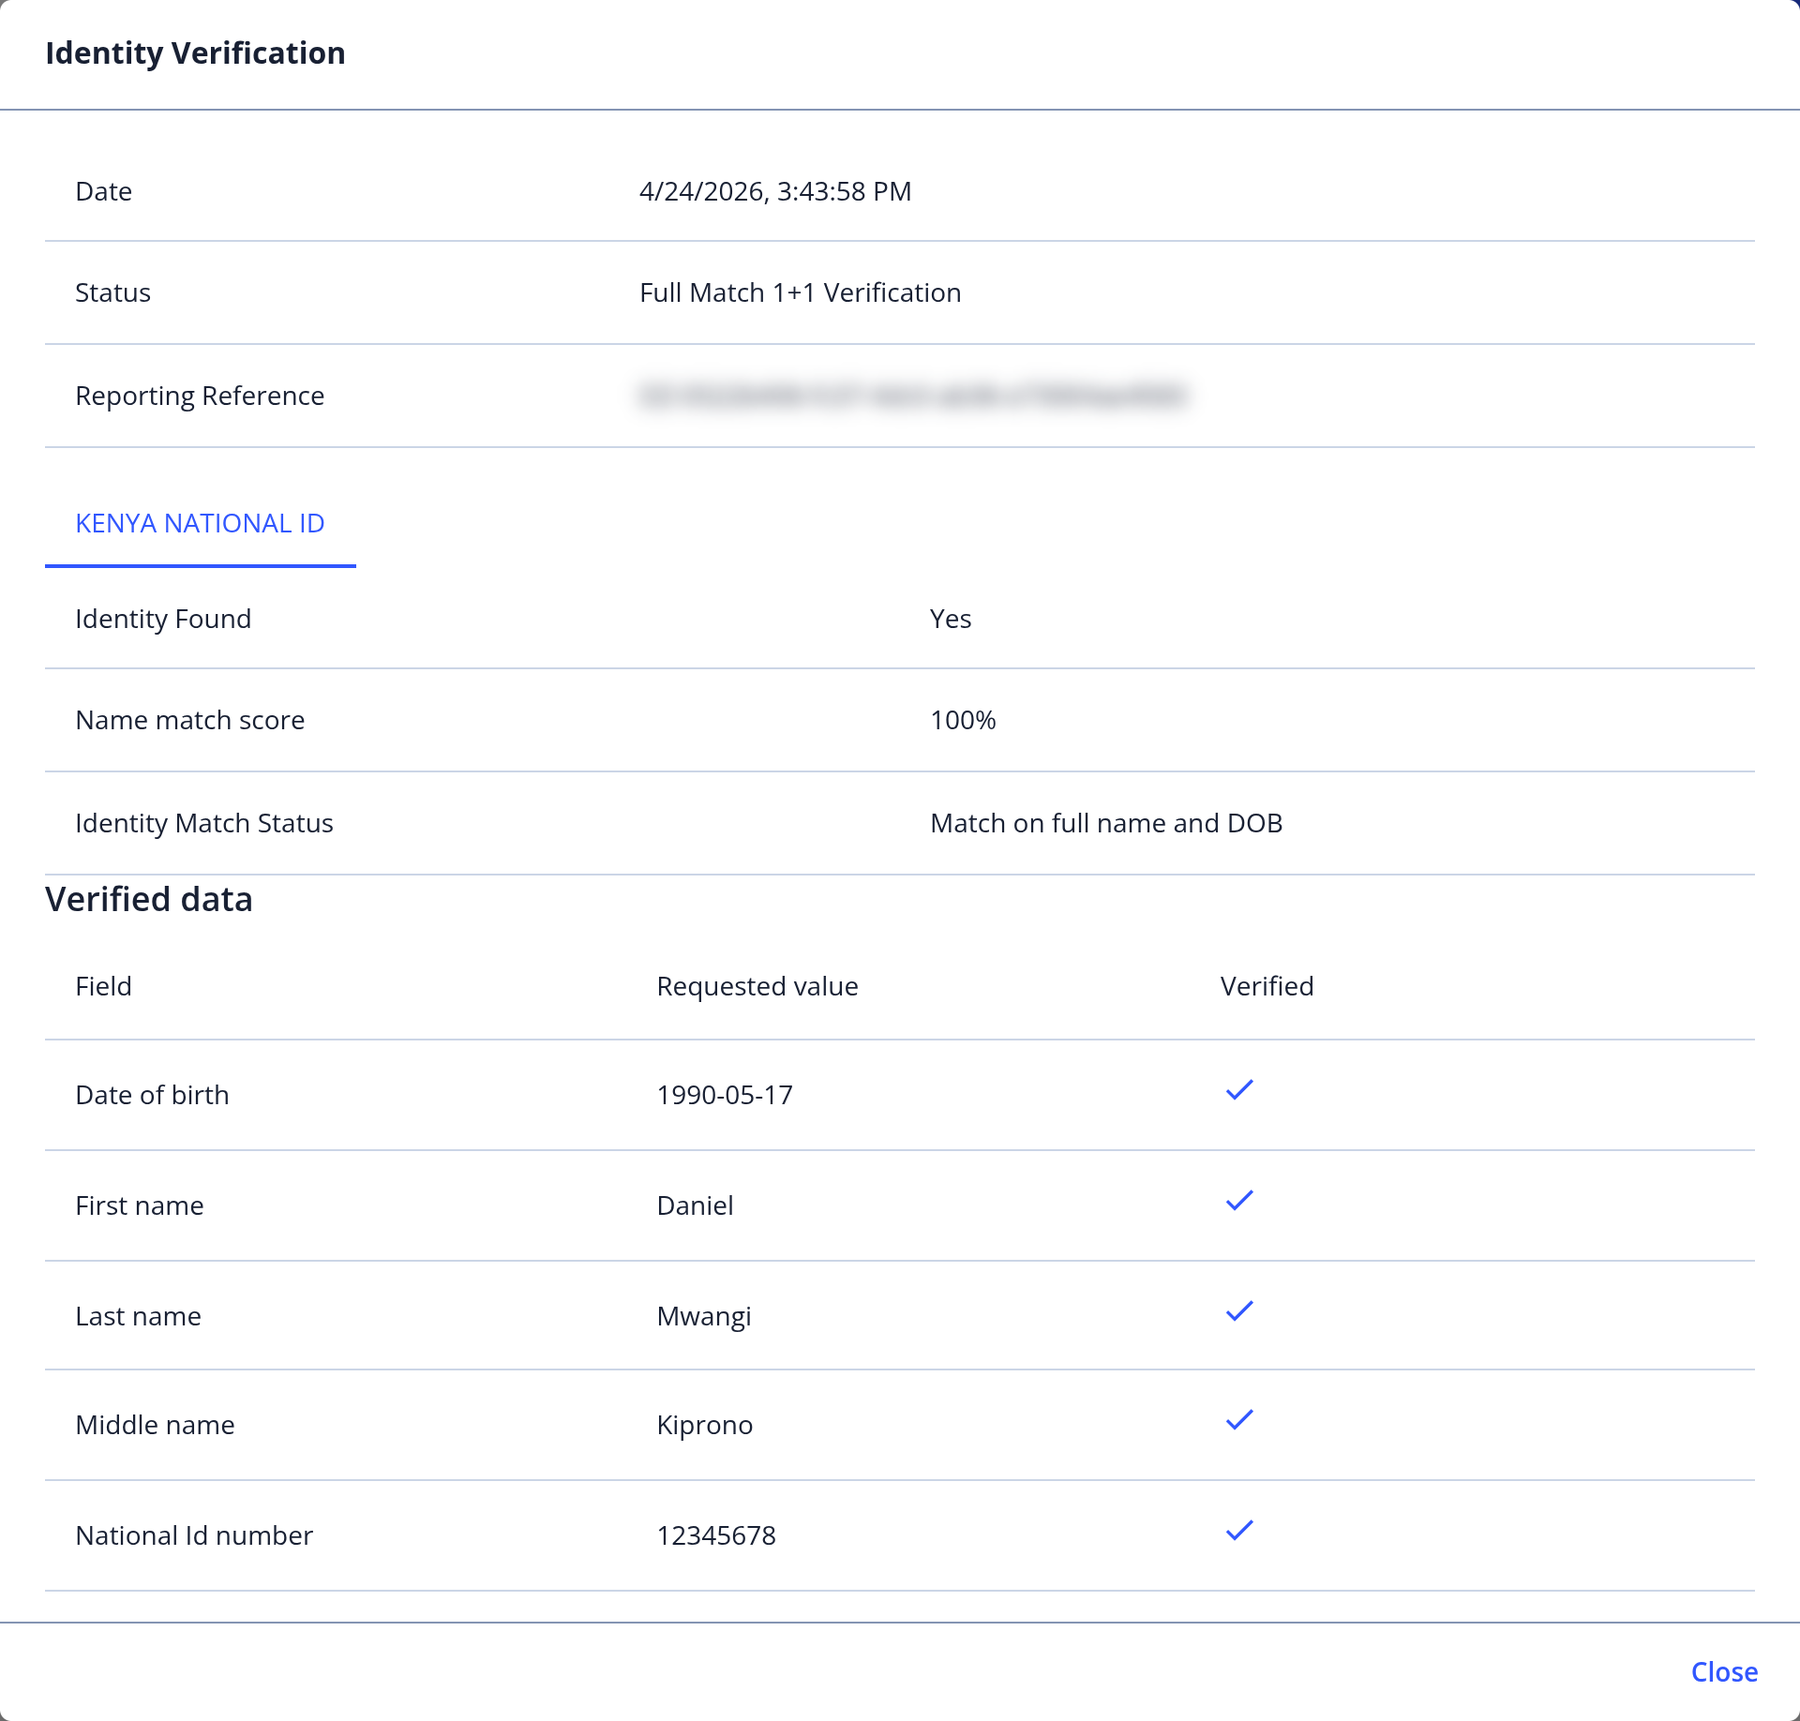
The results will show if the provided name, date of birth and address exist in government databases. The system will also display a match score:
If not enough data was provided, or if the data was not formatted correctly and could not be verified, an error message will explain this to the manager. The data can then be modified, and a new check will be triggered if/when the application is re-submitted.
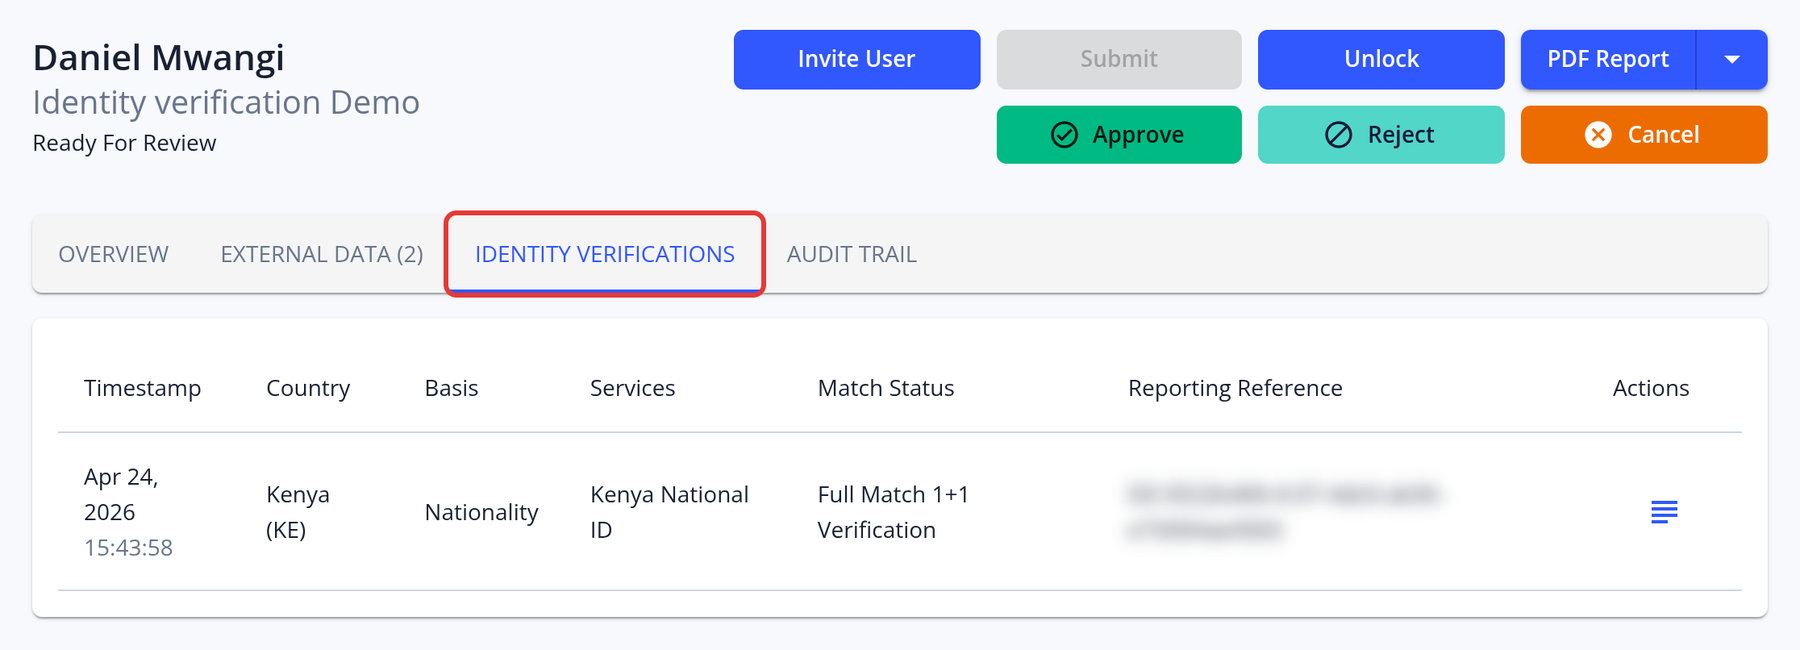
The application's Identity Verifications tab lists every identity data check with its time, country, match status and reference:
Checking ID document verification results
The ID Document Verifications tab shows each verification attempt with its result (Passed, Failed, Ready for Manager Review or Skipped), the extracted document data, the document images, the selfie and the facial comparison.
- Open Individual Applications in the left menu
- Open the application you want to review
- Open the ID Document Verifications tab
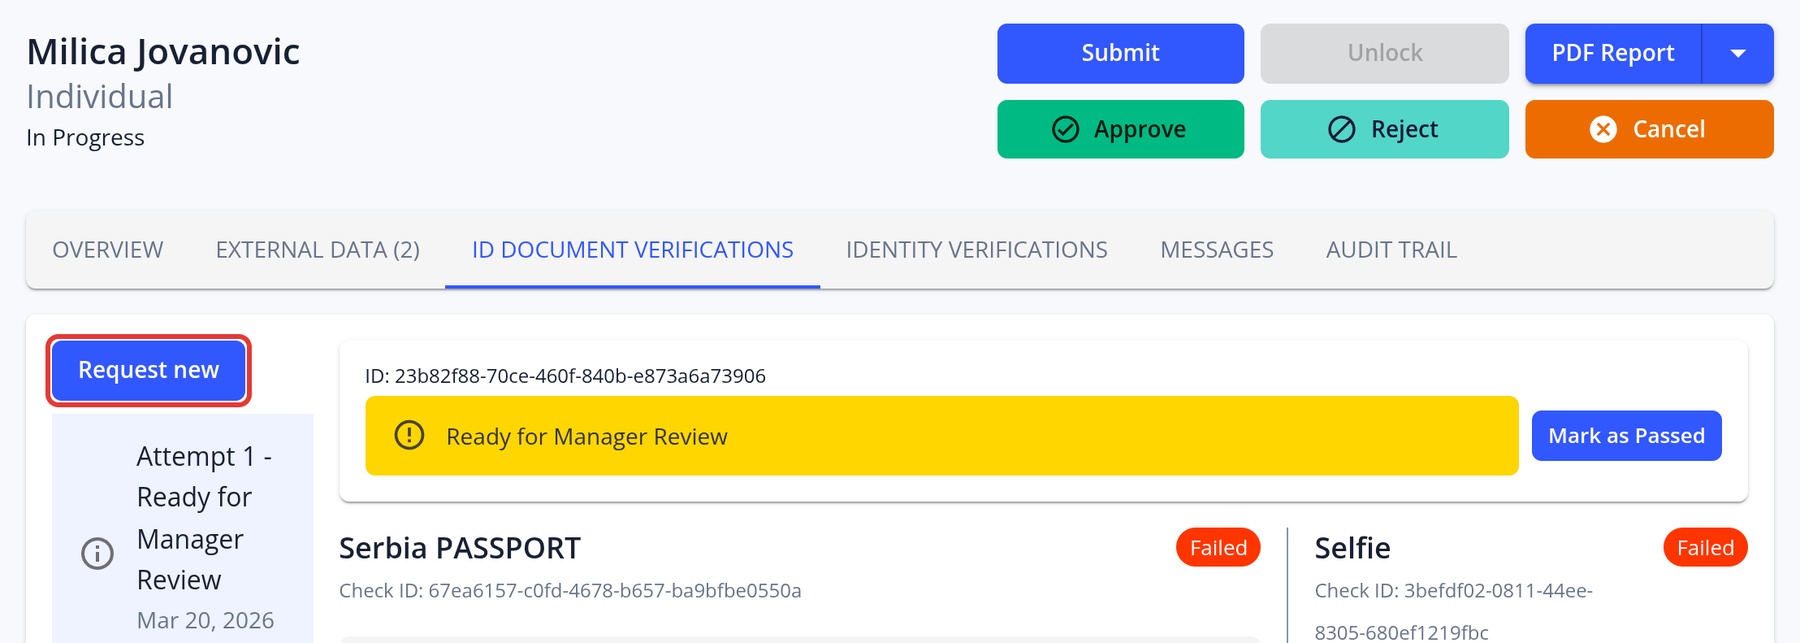
If ID document verification or the selfie check failed, click Request new to ask the applicant for a new upload. The system can also request it automatically if the Document check or Selfie check pre-check on the risk score card is set to "Request". After reviewing a failed attempt yourself, you can click Mark as Passed and add a note. Print Report prints the verification result.
Taking the perfect photo: share these tips with applicants, and see Tips for taking the perfect photo below.

How do I troubleshoot issues with ID document verification, such as failures or delays?
Request a re-upload
If an applicant’s ID document verification fails or returns an ‘Unknown’ status:
- Request Re-upload: You can ask the applicant to re-upload their ID document. Open the application's ID Document Verifications tab and click Request new. You must be assigned to the application, and it must be open.
Assisted upload (Easy Fill)
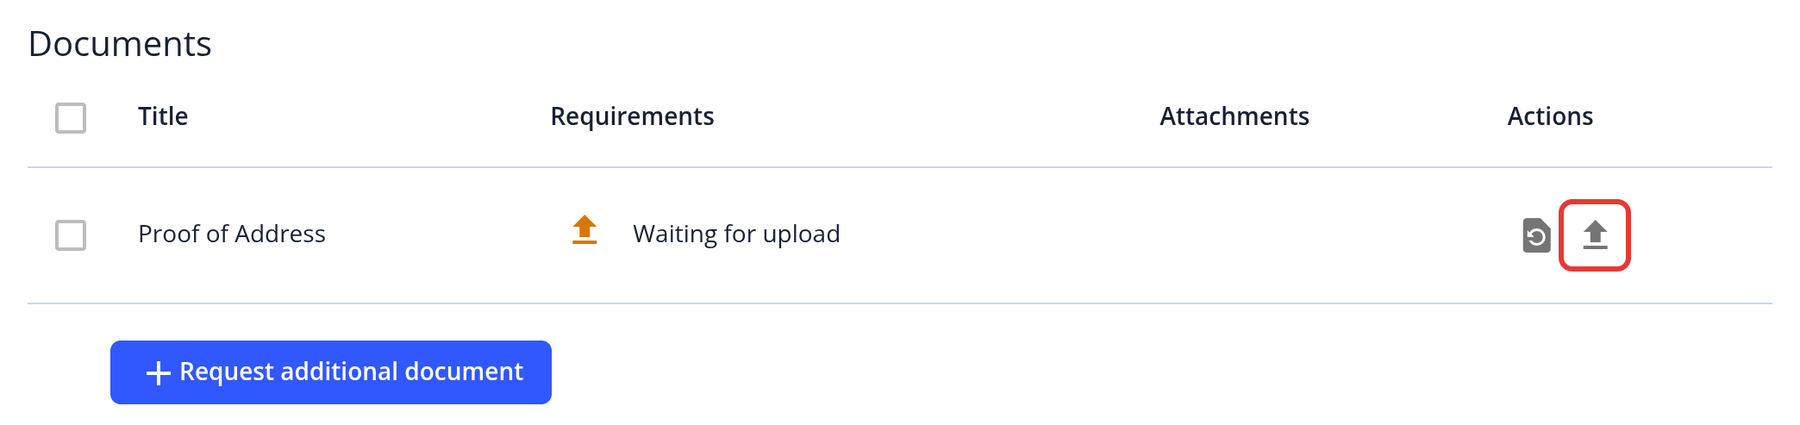
- As a manager, you can re-upload a document on the applicant’s behalf using the Easy Fill feature. In the Documents section, click the Upload document icon on the document's row, upload the new image, and then click Submit at the top of the application page to start the verification checks. This feature is especially useful for Member KYC scenarios—such as when an applicant submits an ID document for a corporate member that fails validation. In such cases, the manager has the option to upload a new image and complete the process on the member’s behalf.

Common reasons for a failed document scan
-
Expired Document: The ID document is no longer valid.
-
Manipulated Document: The ID document appears to have been altered or tampered with.
-
Poor Quality Copy: This is a frequent cause of failure. Advise the applicant to provide a high-resolution, uncropped, and clear photo of the physical ID document. Avoid using scanned copies, images with noticeable enhancements (such as altered brightness), or low-quality submissions.
-
Data Extraction Issues: If the system cannot properly extract data from the ID document, a clearer or alternative document may be required.
-
Alternative Document: If quality issues persist, ask the applicant to provide a different form of ID if available.
Tips for taking the perfect photo
- Capture the entire document; partial images are not sufficient.
- Ensure the image is in focus. Using a mobile camera with at least 5 megapixels is recommended.
- Only the ID should be visible in the image—remove any background clutter.
- Avoid glare, shadows, or using the flash, which can obscure details.
- For passports, only upload the data page; other sides or pages will not be accepted.
Delays, or verification not progressing
- Application Submission: Ensure the applicant has fully completed and submitted their application. Verification checks, including ID document verification, are automatically triggered once the application is submitted and the status is ‘Documentation Ready For Review.’
- Browser Optimization: For best performance, make sure your browser is up-to-date, clear your browser cache, and use Google Chrome.
If you have any questions or encounter issues, please contact our support team for further assistance.