Creating and editing templates
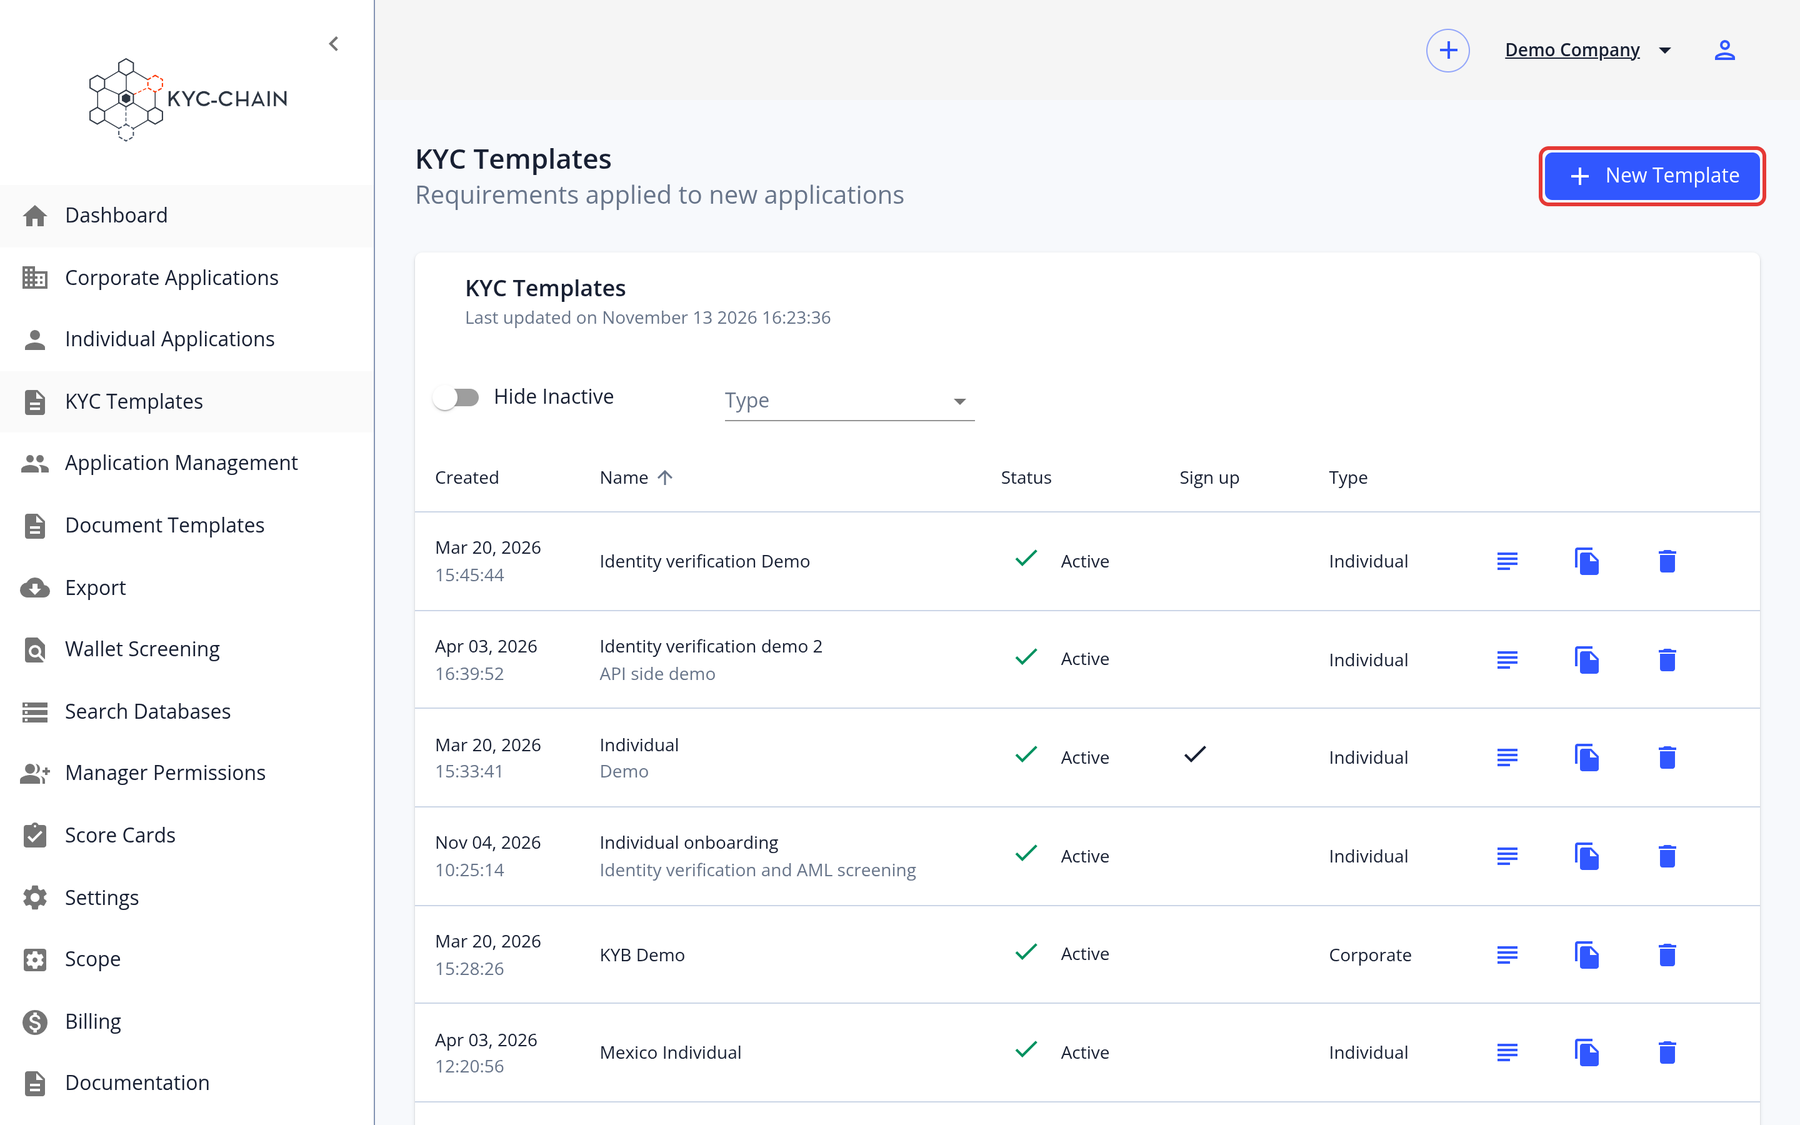
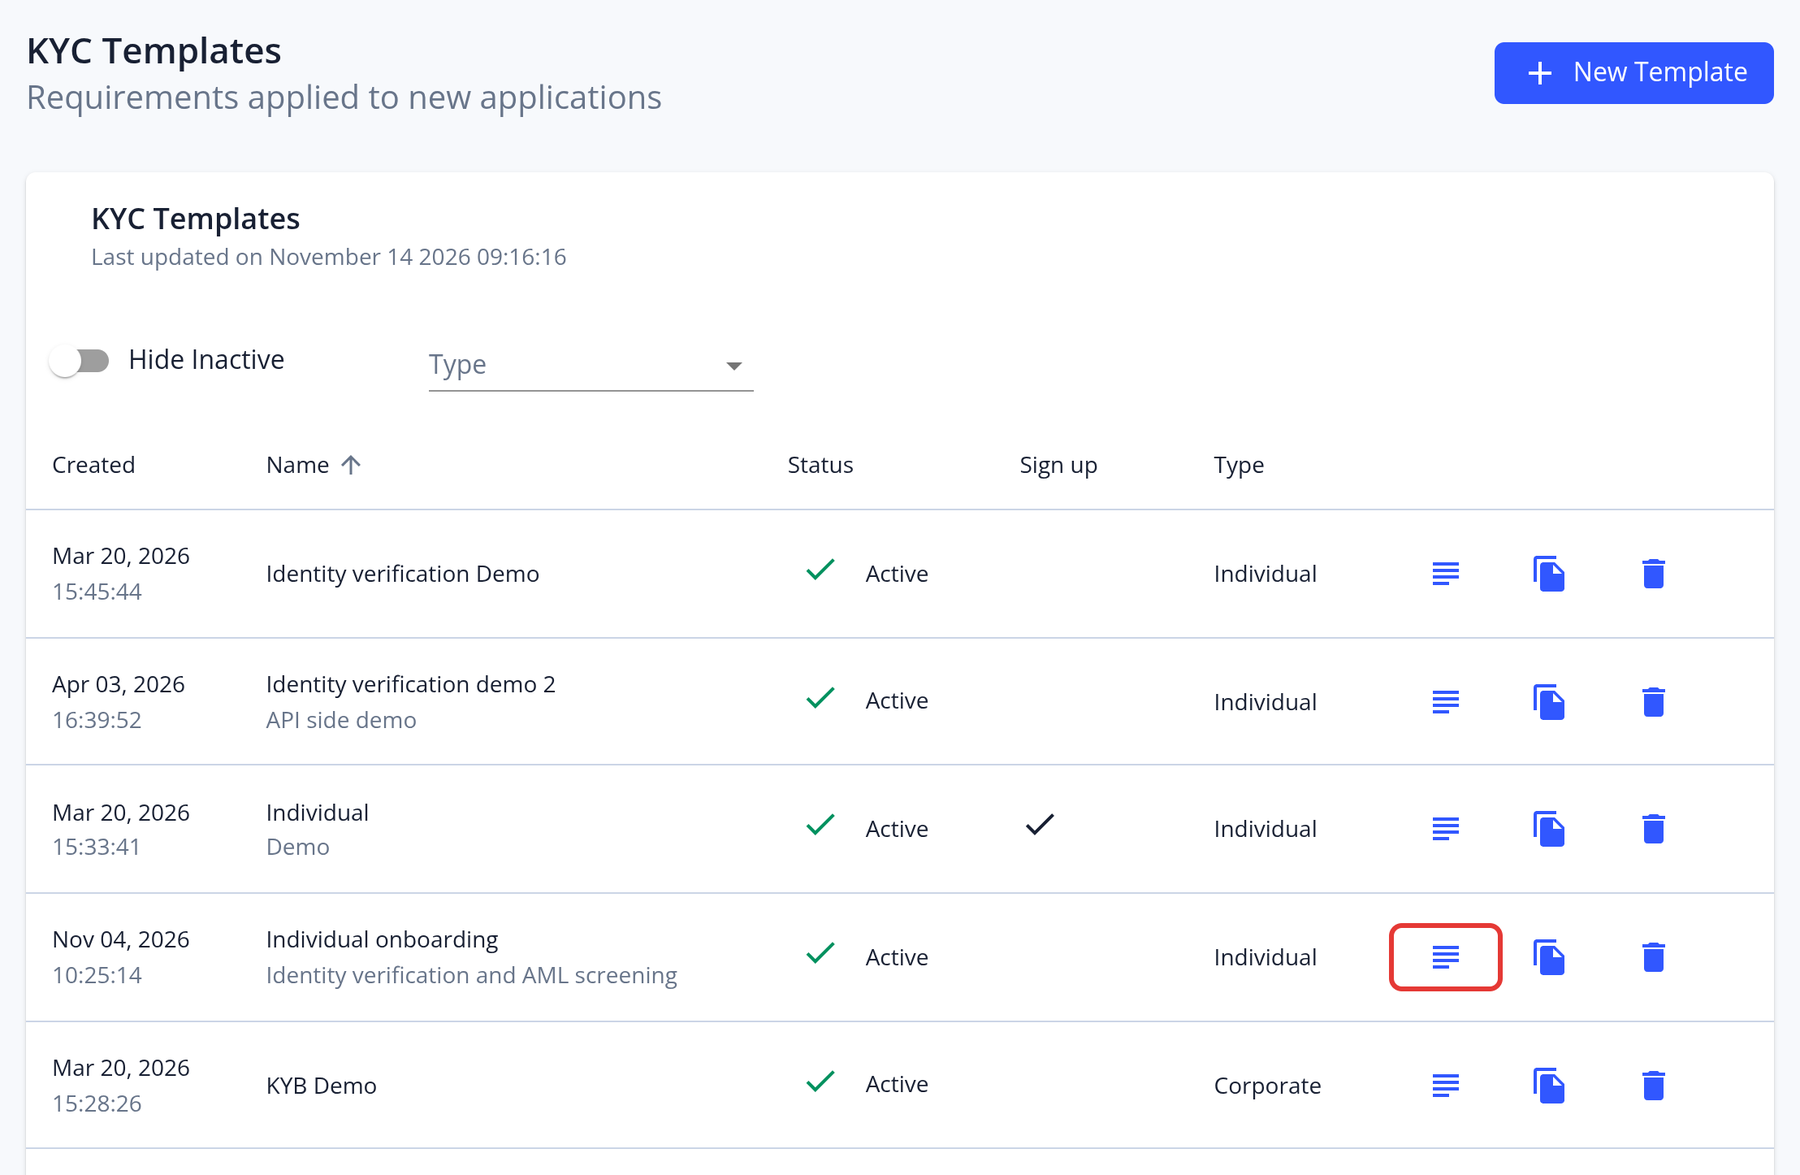
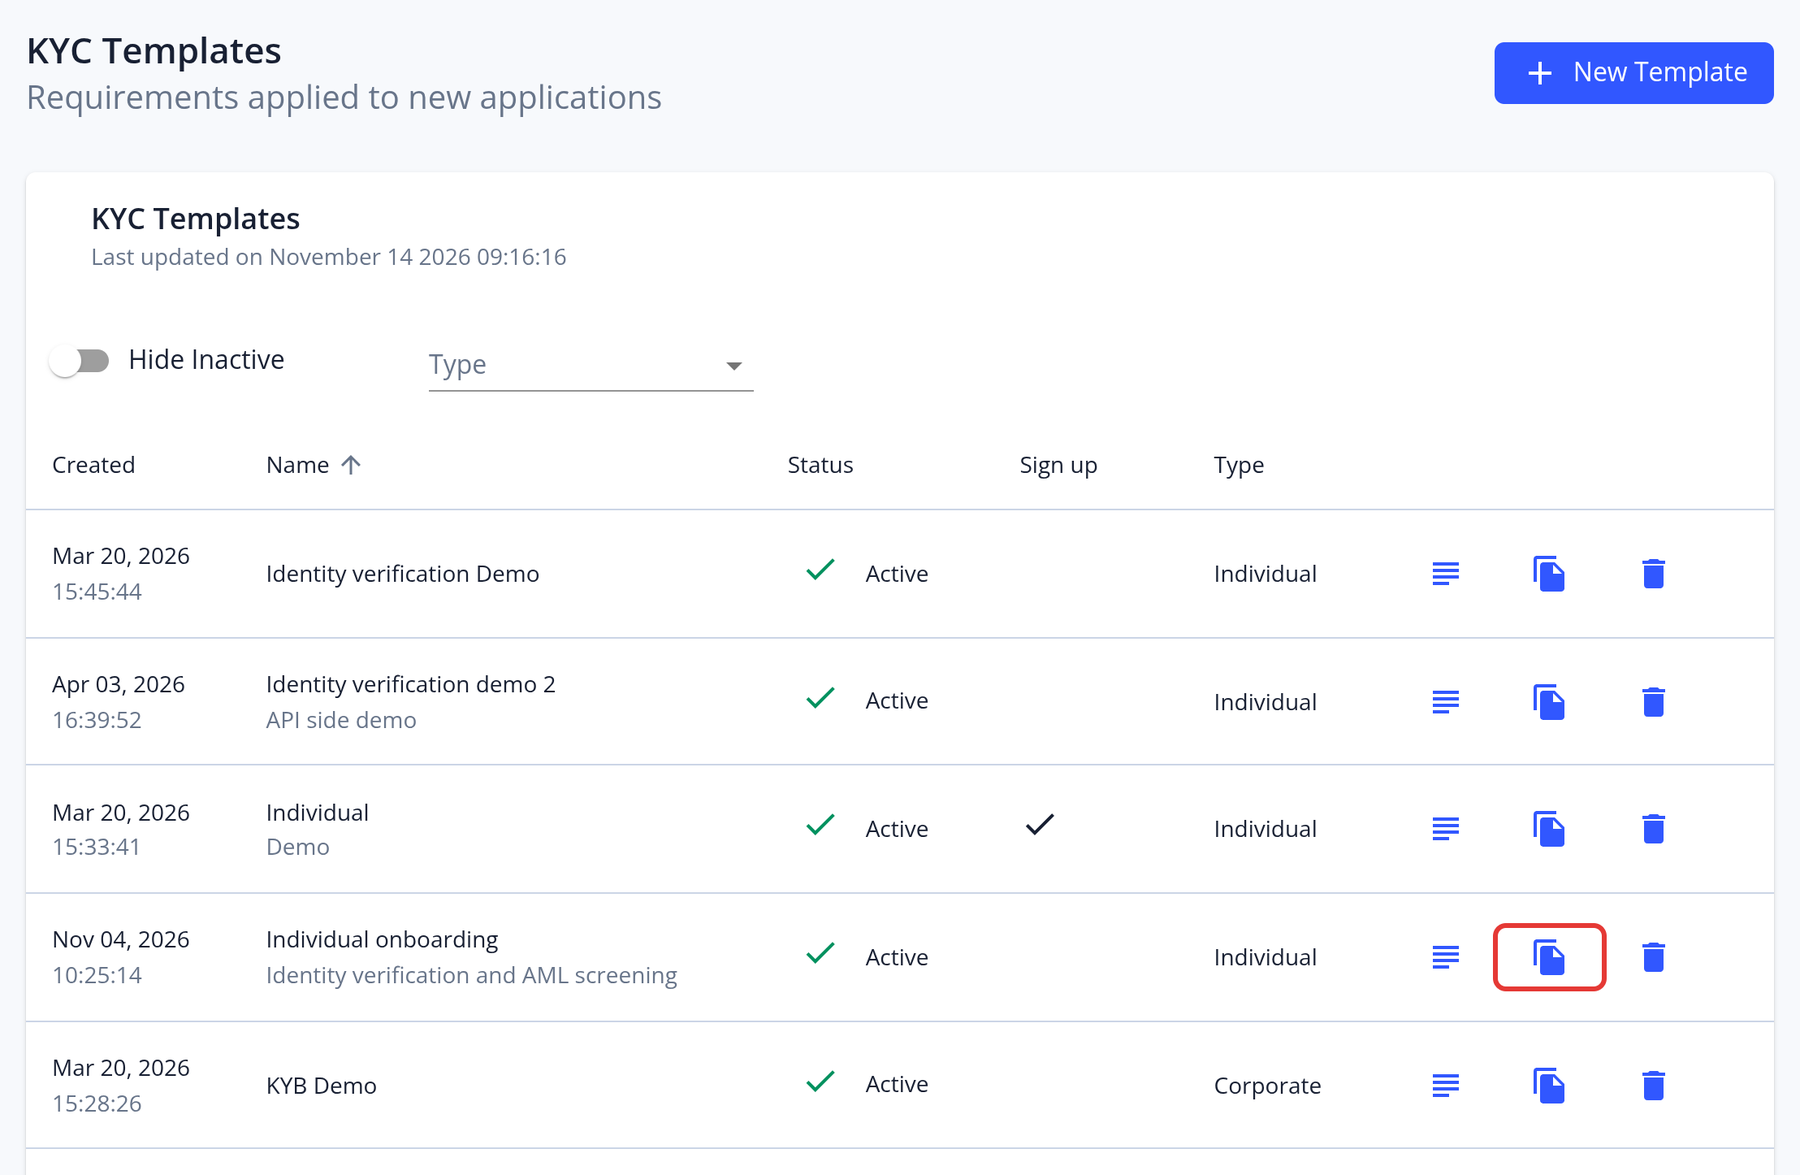
The KYC Templates section lets managers define what each KYC process asks of the applicant and which checks run. The list shows each template's creation date, name, status (Active or Inactive), whether it is available in applicant sign-up, and its type. Use Hide Inactive and the type filter to narrow the list.
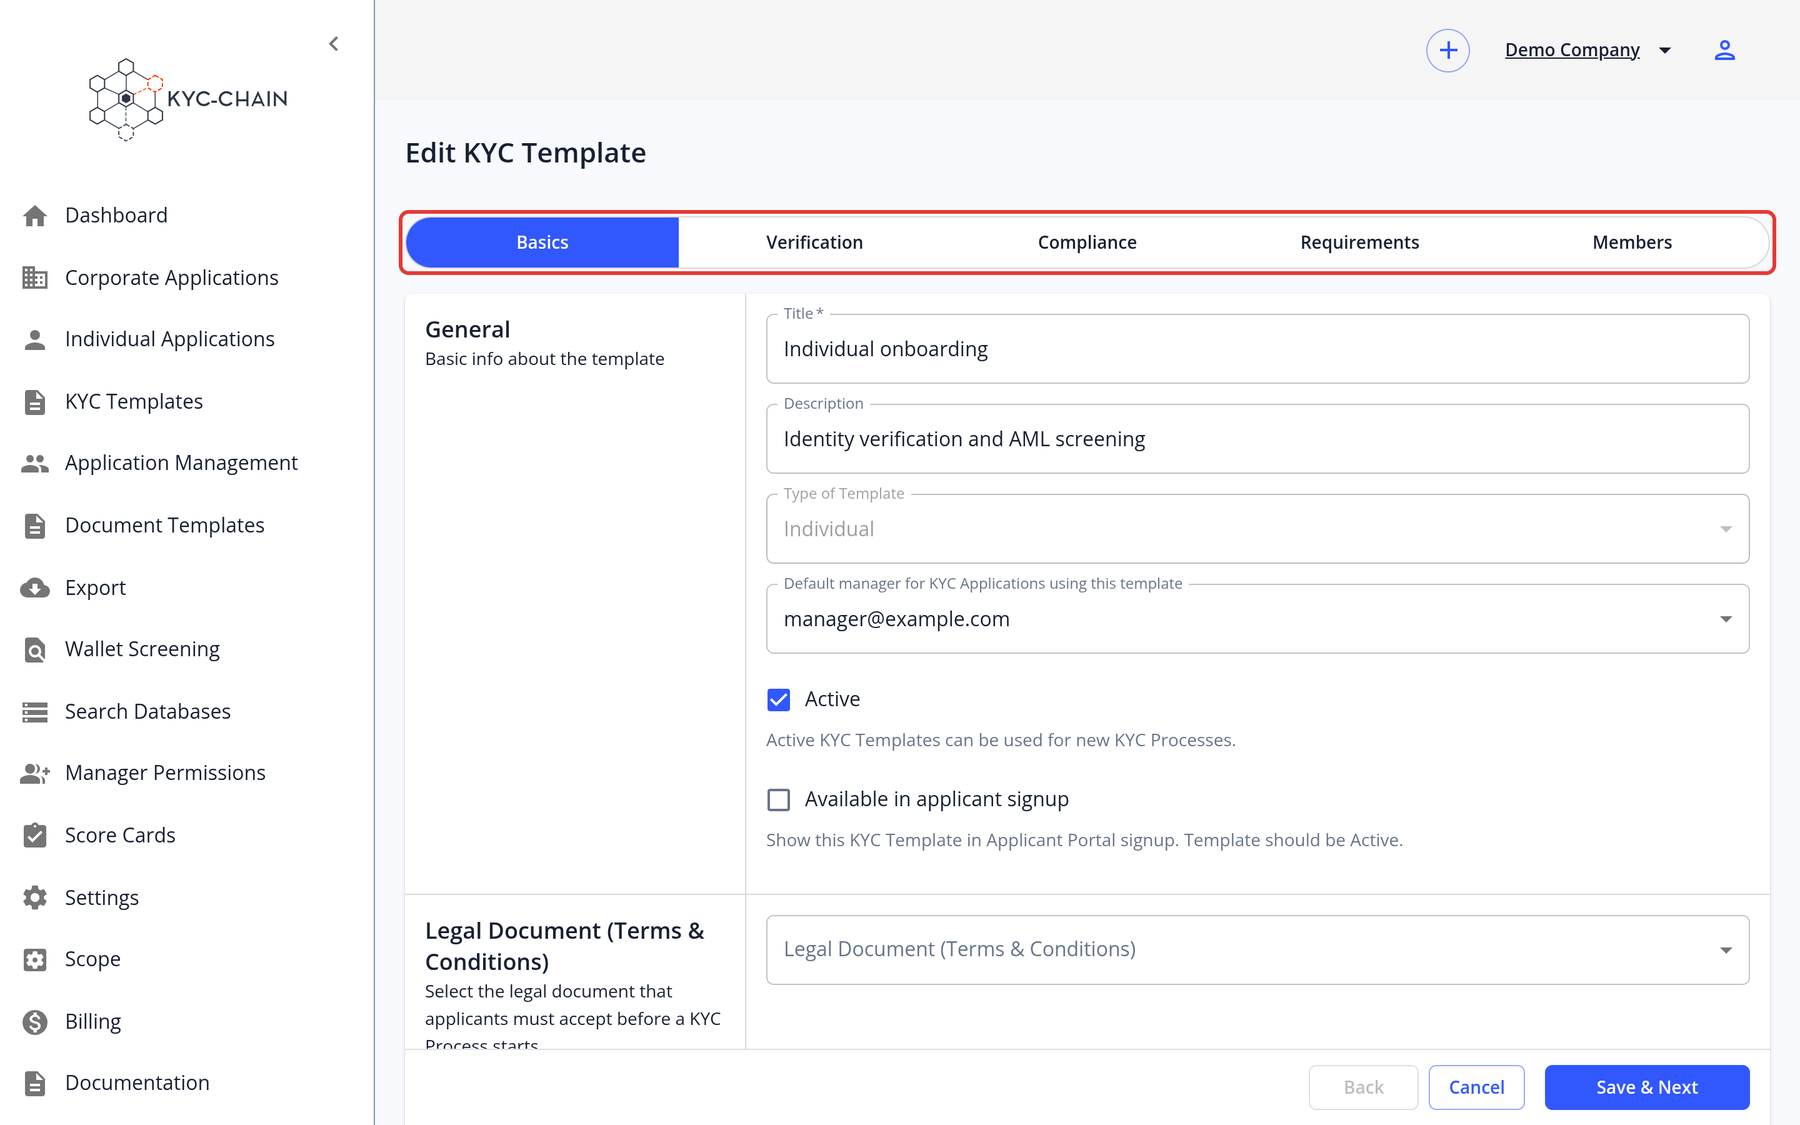
Templates are edited in five steps:
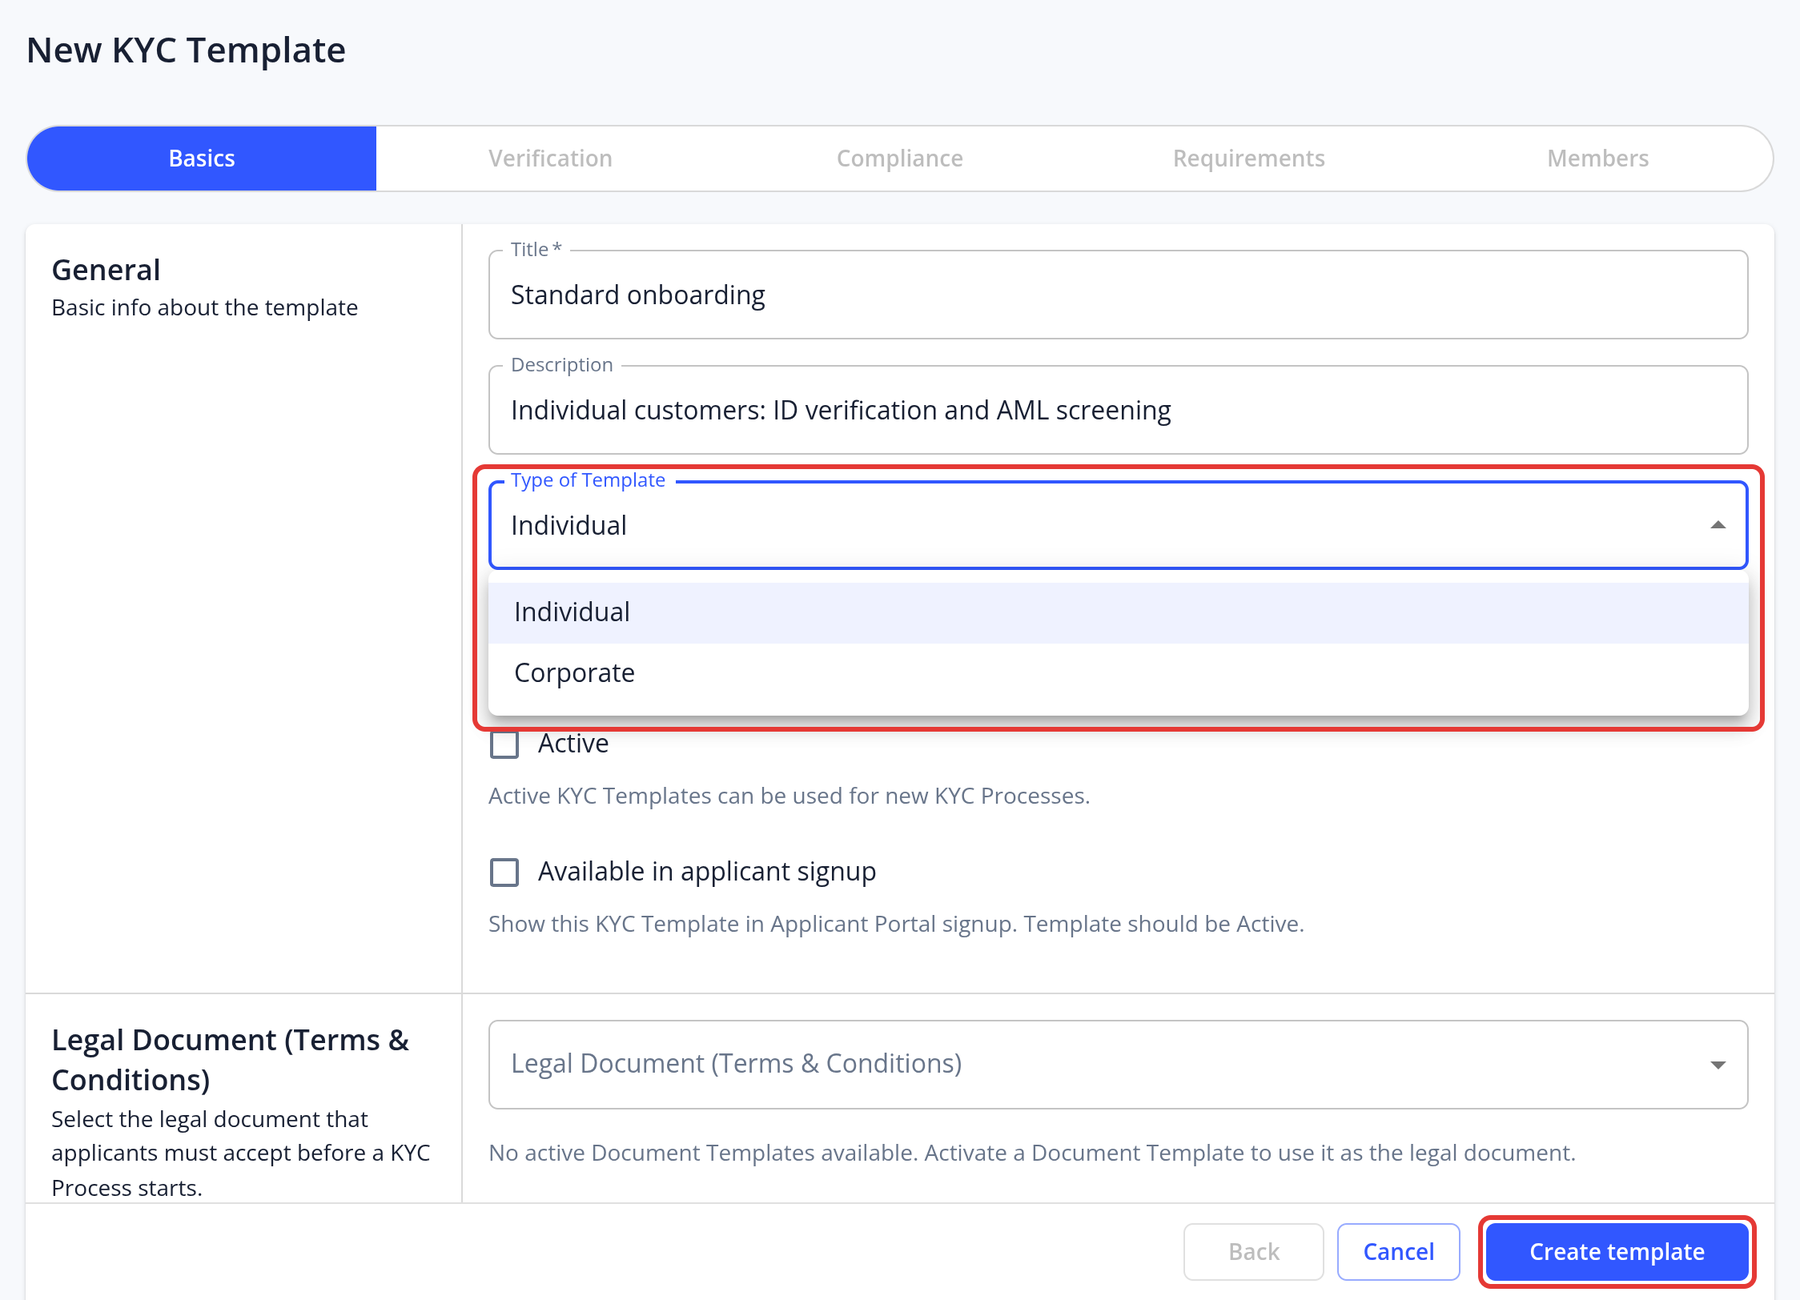
- Basics: the title, description, type (individual or corporate; it can't be changed later), default manager, Active, Available in applicant signup, Legal Document (Terms & Conditions), Welcome Screen and Completion Screen.
- Verification: Sybil Checks, Approval Decisions (when multi-approval is enabled), Risk Scoring (score card) and Document verification (ID document, selfie and liveness checks).
- Compliance: OFAC data checks, AML data checks (search parameters and fuzziness), Company registry (corporate templates), Identity Data Verification, Ongoing Monitoring and KYC Refresh.
- Requirements: the questions, documents and forms the applicant must complete.
- Members: whether applications can have members, such as directors, UBOs and shareholders, and which KYC template each member gets.
Each step shows an Estimated Billing Impact panel with the one-time cost per application and any recurring monitoring cost of the checks you enabled.
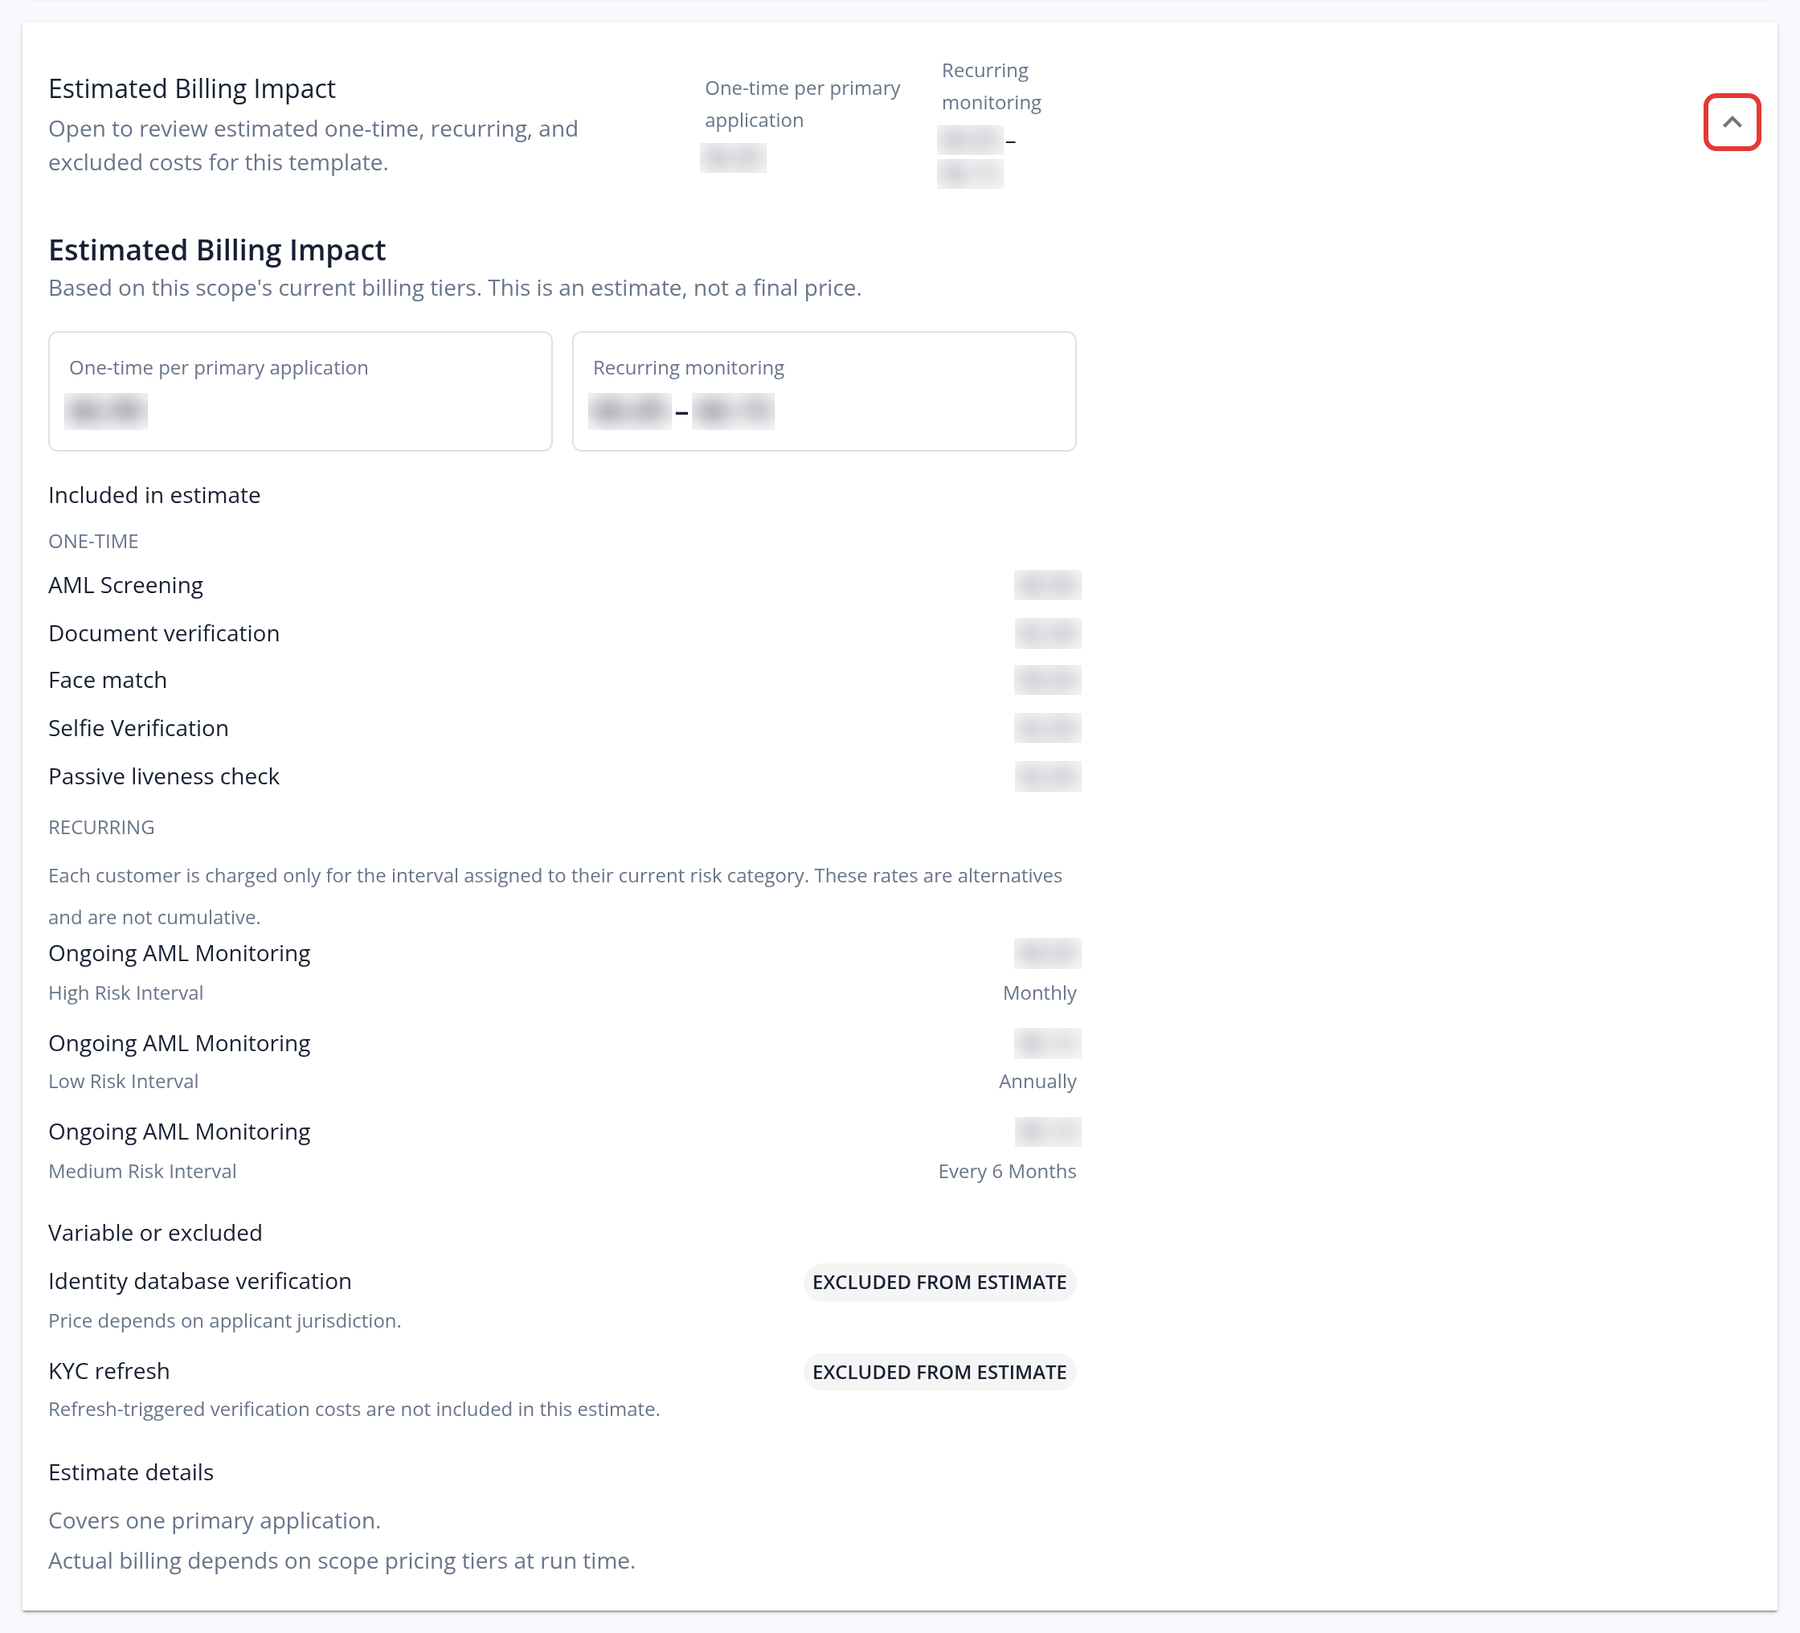
Some sections only appear when the related feature is included in your plan. If a feature isn't available, its section is hidden or shows a message asking you to contact your sales manager.
Managers can create and customize as many KYC templates as they require for their workflows. Managers can request specific documents or ask KYC applicants questions tailored to their requirements. To do that, they can either create an entirely new template, or customize/duplicate an existing template.
How to create a new template
- Go to KYC Templates in the left menu
- Click New Template
- On the Basics step, enter the title and description and choose the Type of Template (individual or corporate). The type can't be changed later.
- Click Create template
- Work through the remaining steps: Verification, Compliance, Requirements and Members. Click Save & Next to save each step, and Save changes on the last step.
How to customize an existing template
- Go to KYC Templates in the left menu
- Click the View And Modify button (text icon) on the template's row
- Open the step you want to change: Basics, Verification, Compliance, Requirements or Members
- Make your changes and click Save & Next (or Save changes on the last step)
How to delete an existing template
- Go to KYC Templates in the left menu
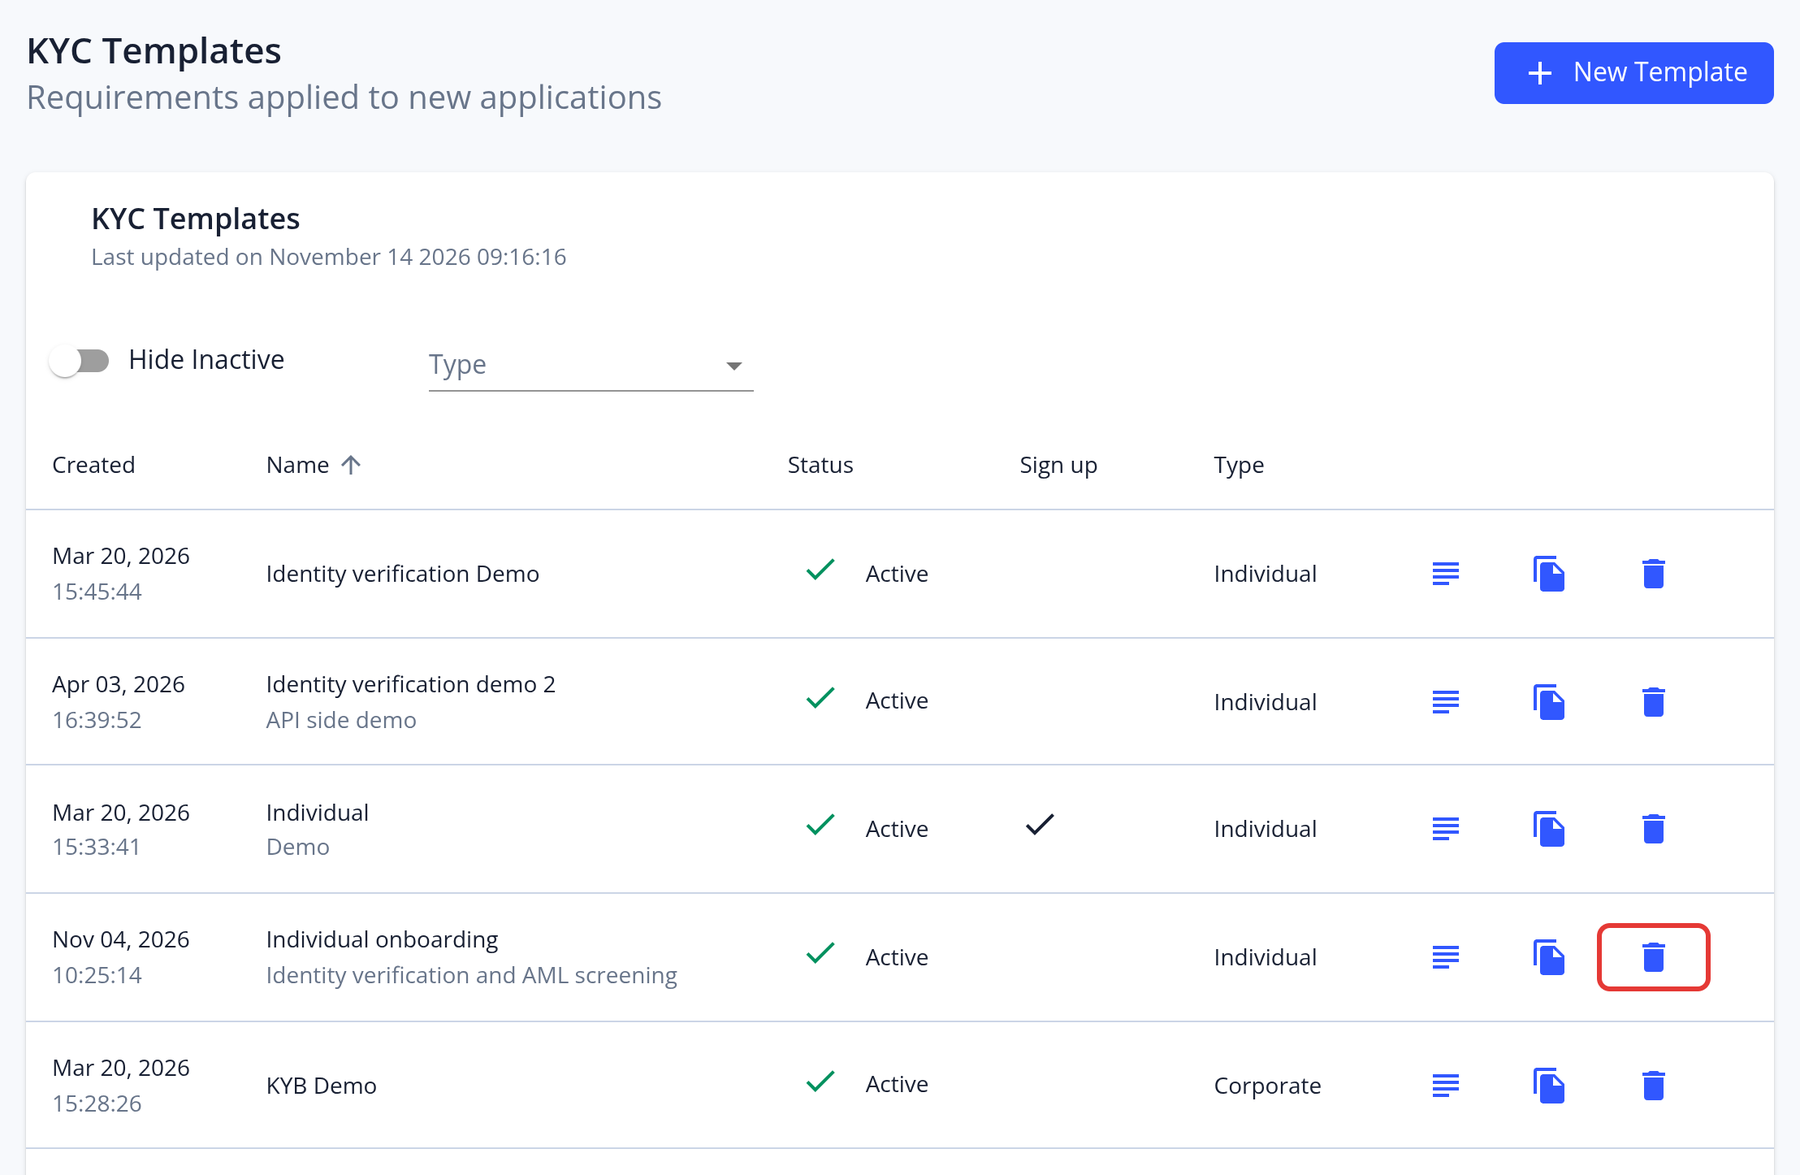
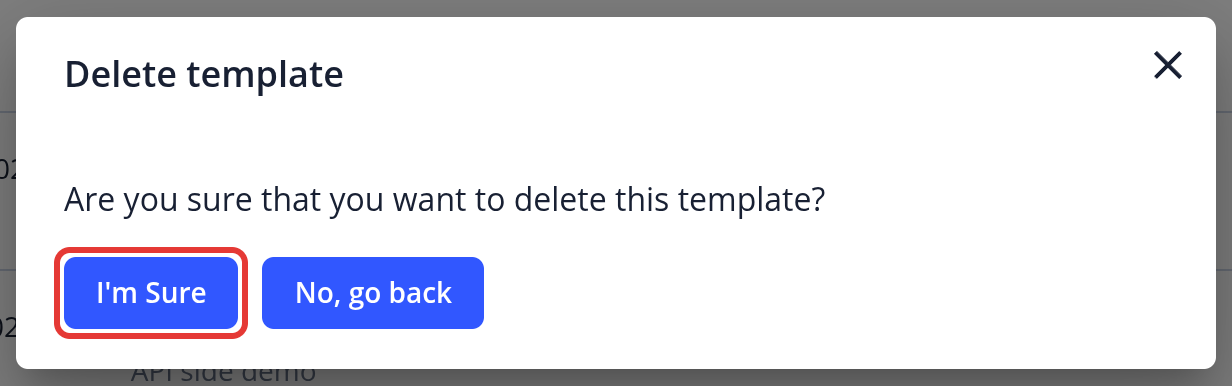
- Click the Delete (trash) icon on the template's row and confirm with I'm Sure.
How to duplicate an existing template
- Go to KYC Templates in the left menu
- Click the Duplicate (copy) icon on the row of the template you want to copy.
How to add and customize a welcome message
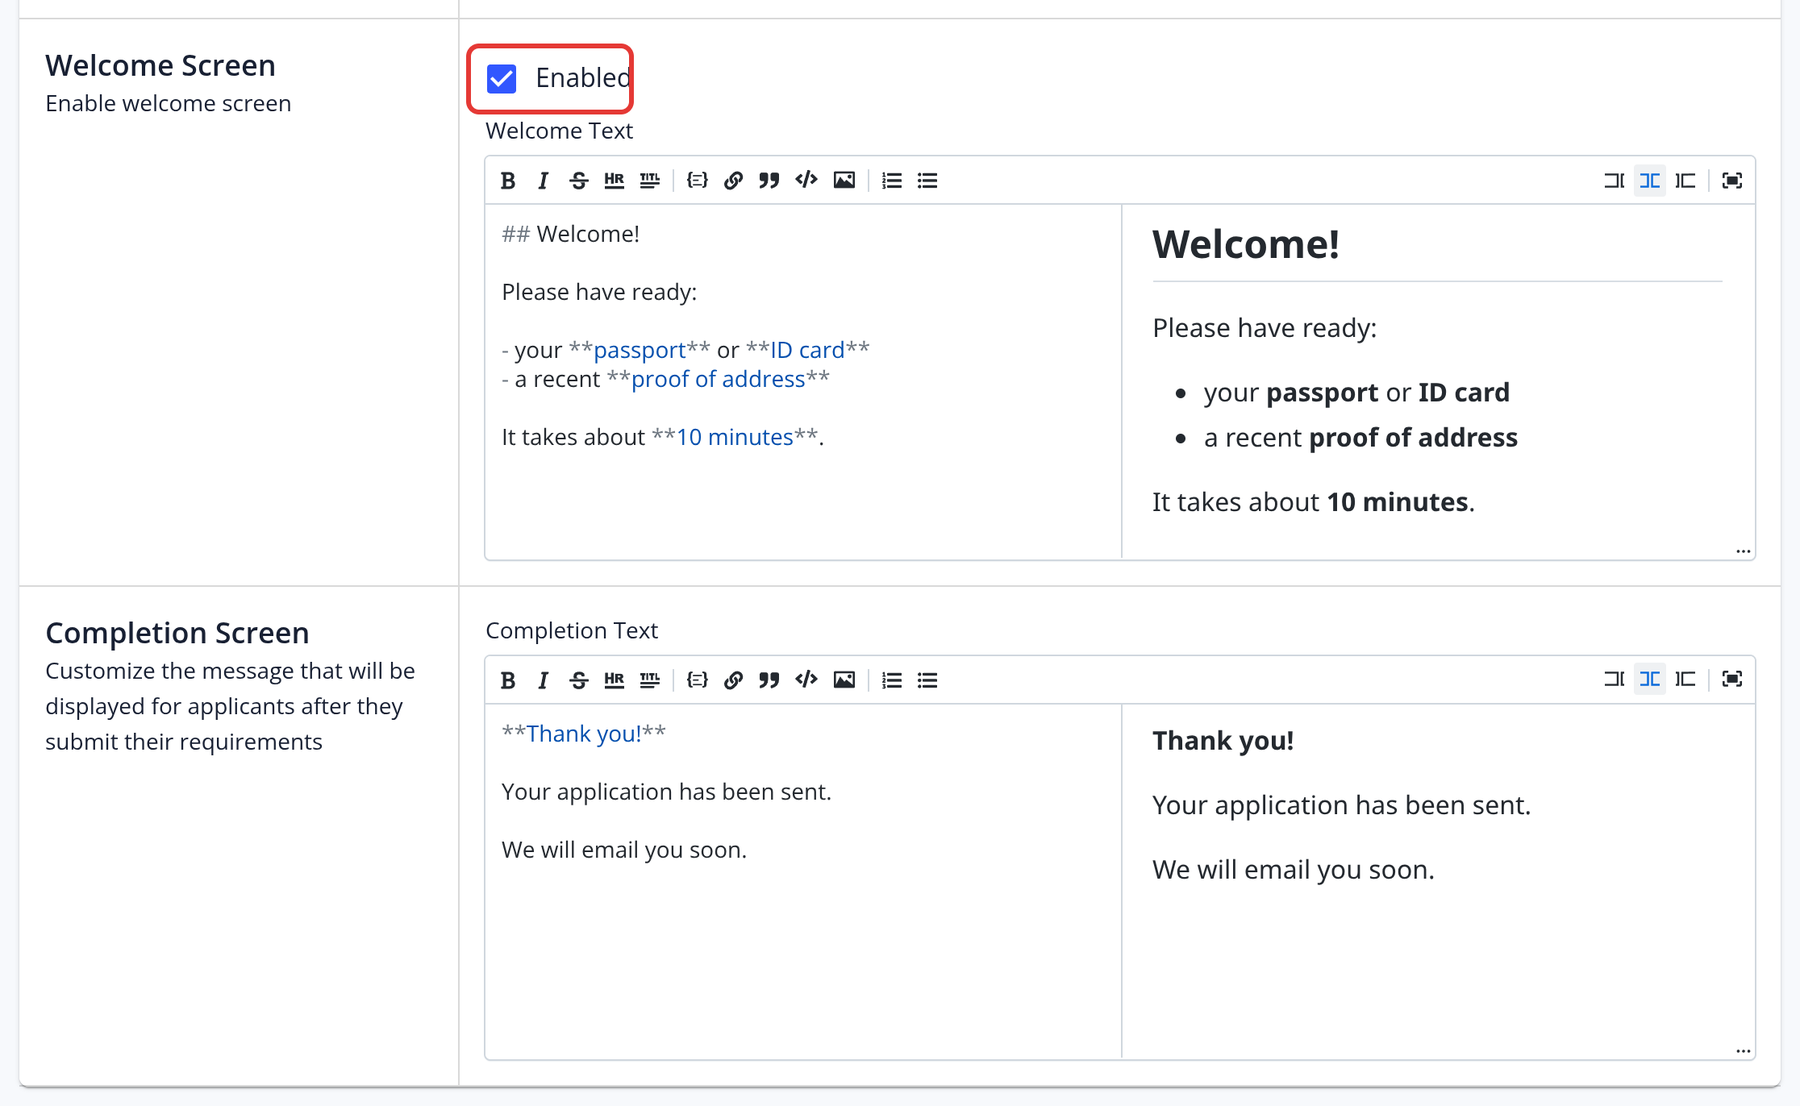
If you add one, the welcome screen is the first screen your applicants see when they start the onboarding process. You can describe what information they will need to provide, your notarization or translation rules, and anything else you'd like them to know.
- Open a KYC template
- On the Basics step, find the Welcome Screen section
- Tick Enabled
- Write the welcome text and check the preview to confirm the formatting
- Click Save & Next
The same step also has a Completion Screen, where you can add text that applicants see when they finish their application.
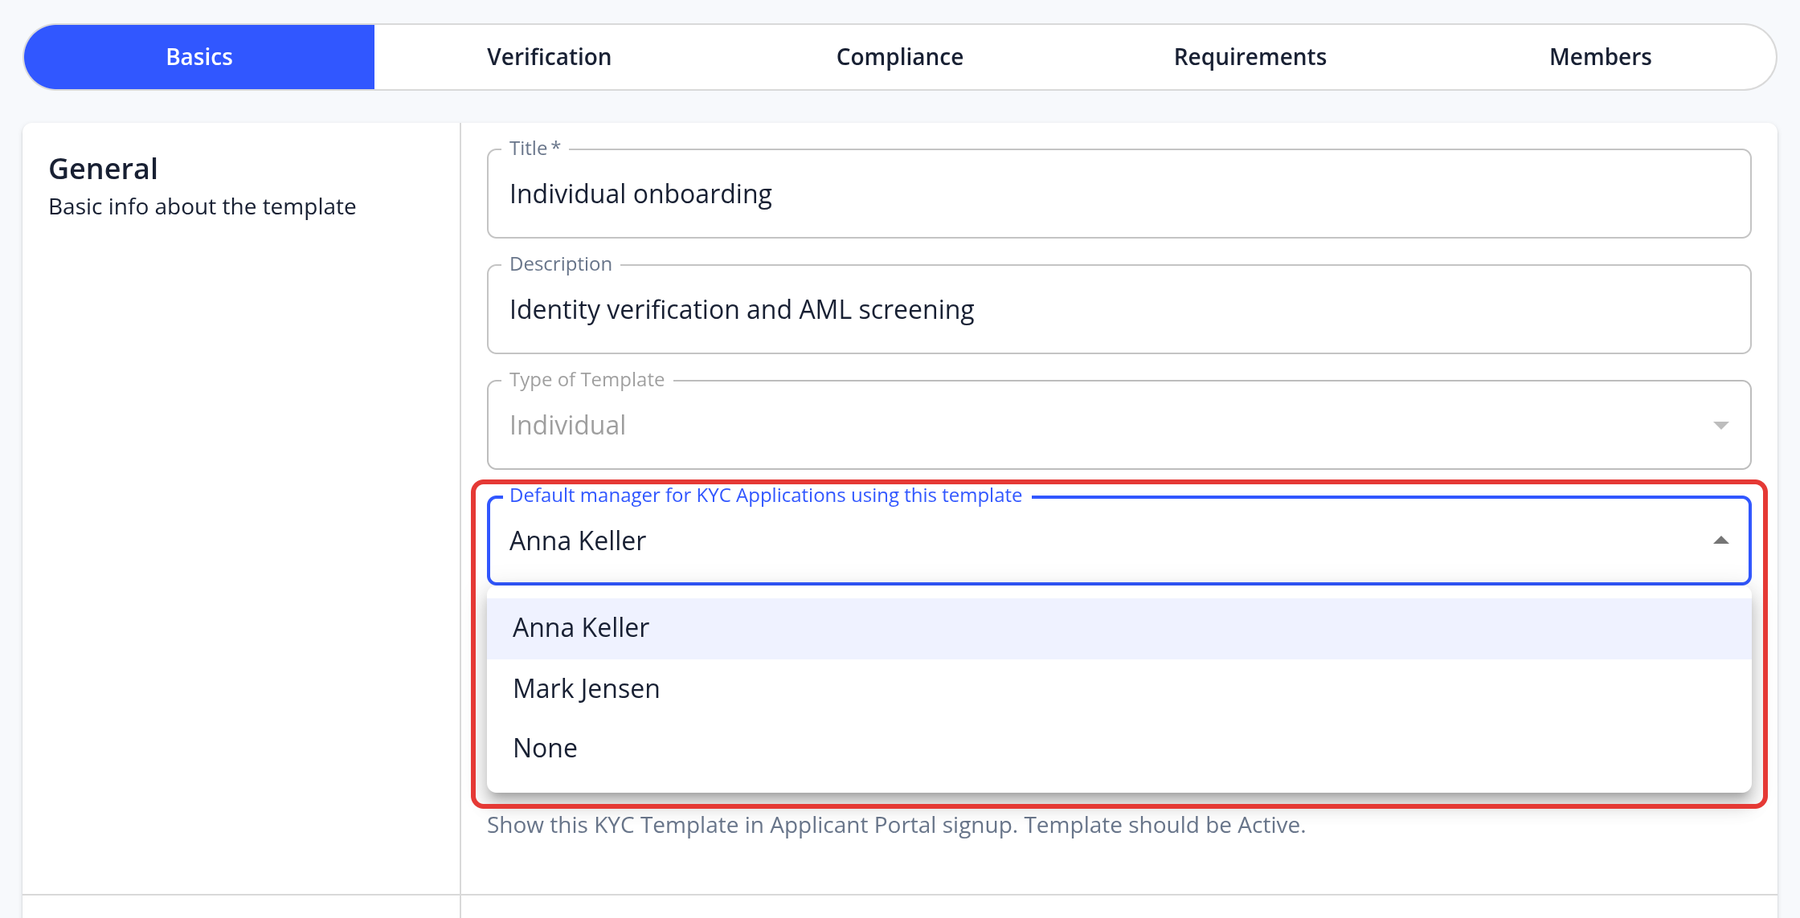
How to set a default manager for new KYC Processes
You can add a default manager to a KYC template so that every new process using it is automatically assigned to that manager.
- Open a KYC template
- On the Basics step, in the General section, choose a manager in Default manager for KYC Applications using this template
- Click Save & Next